
Simple Pine Bookshelf
by Logan · Jul 9, 2026
- Build time
- A weekend
- Material cost
- $50–100
- Wood
- Pine
- Finished size
- 36" W × 48" H × 10" D
Downloads
No files attached yet.
Jump to section ▾
Overview
This is an Example plan, has not been validated
A sturdy three-shelf bookcase from off-the-shelf pine boards, joined with pocket screws. It's the classic first furniture project: real proportions, real joinery decisions, but forgiving materials and no panels to glue up.
Everything comes from 1x10 boards in standard lengths, so the lumber store does half your cutting.
Materials
Check items off as you shop — saved on this deviceFinishing
Hardware & consumables
Lumber & sheet goods
Tools
- Circular saw Also works: Miter saw, Table saw, Track saw
- Pocket hole jig — Shelf-to-side joints Also works: Dowel jig
- Drill
- Random orbit sander
Everyday tools (hammer, tape measure, square) are assumed.
Build steps
-
1
Cut the parts
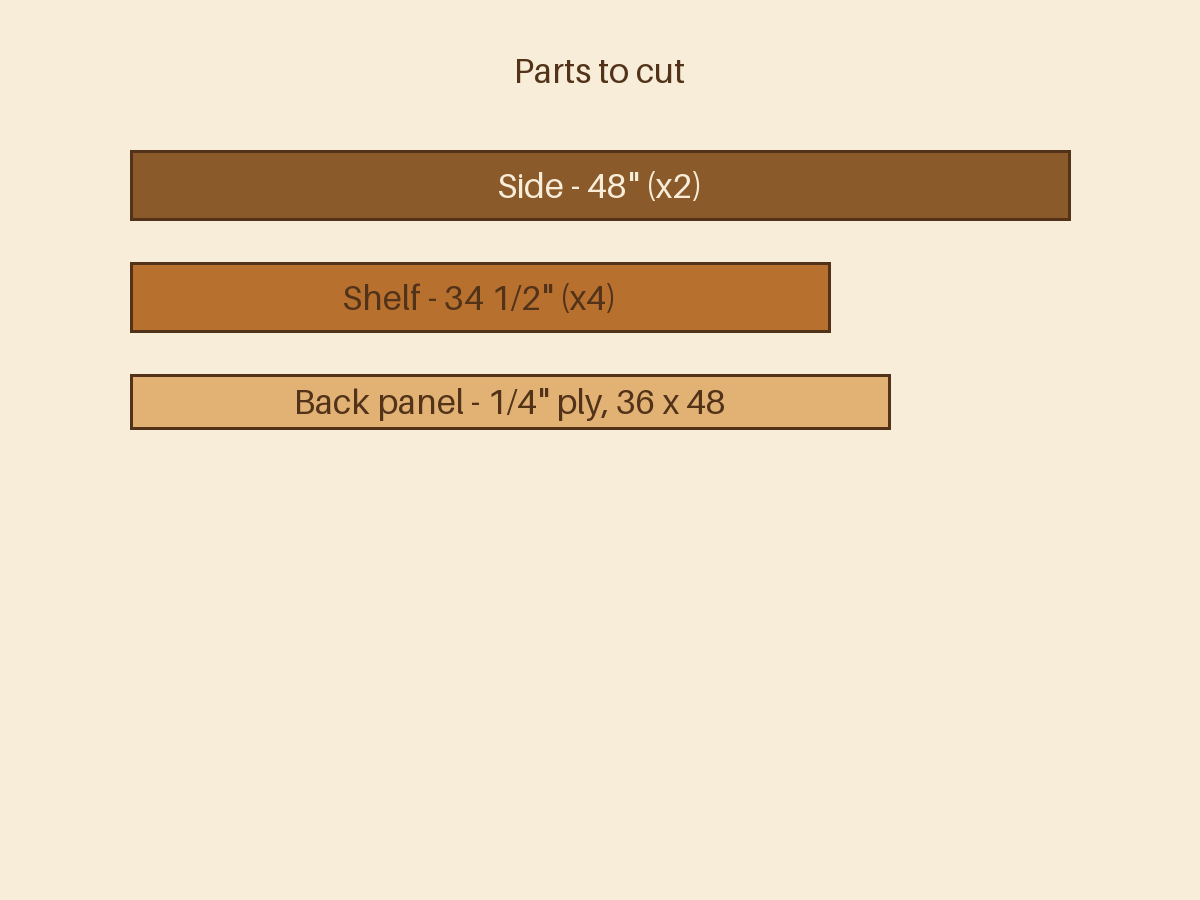
Step 1 of 6- 2 sides at 48"
- 4 shelves at 34 1/2" (top, bottom, two middle)
Square ends matter here — use a guide with the circular saw or a stop block on the miter saw so all four shelves are identical.
-
2
Drill the pocket holes
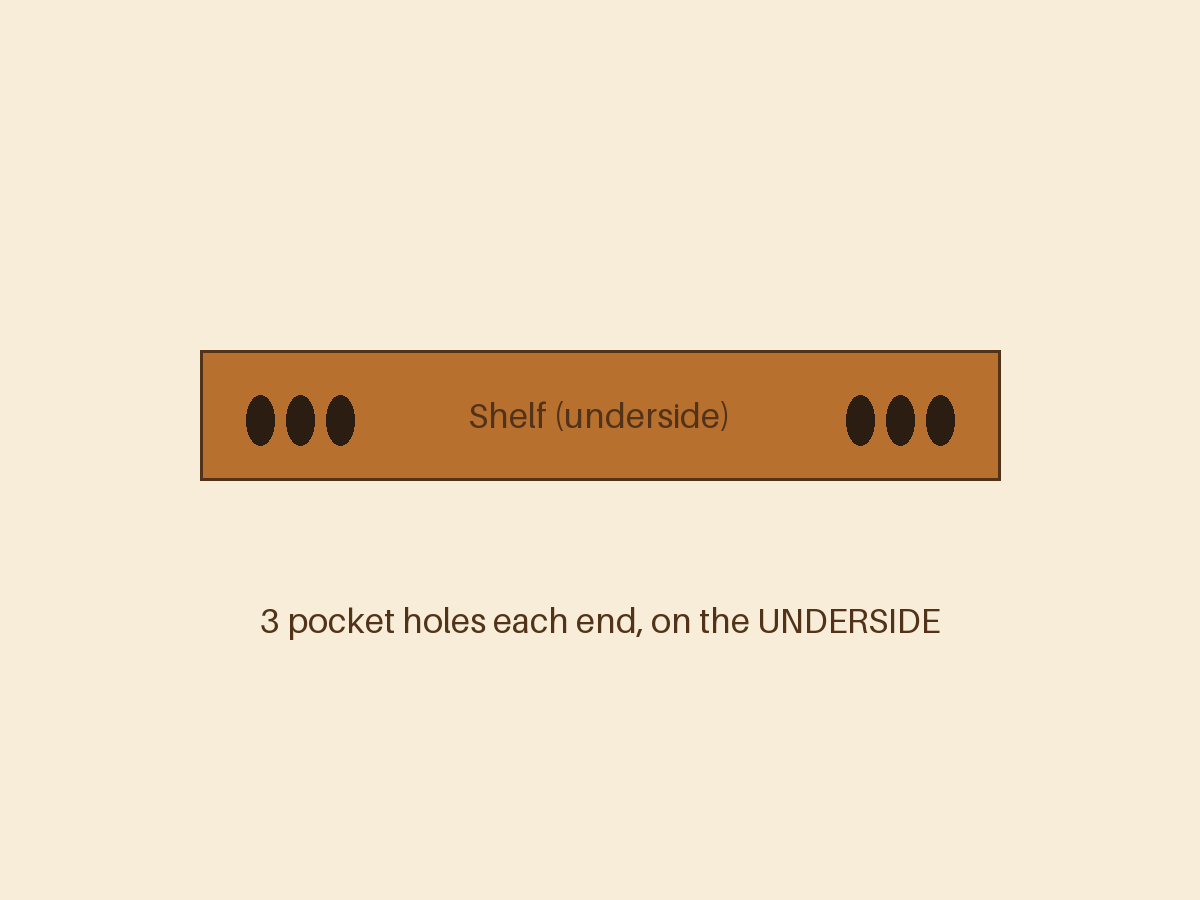
Step 2 of 6Drill three pocket holes in each end of every shelf, on the underside so they're hidden. Set the jig for 3/4" material.
-
3
Mark the shelf positions
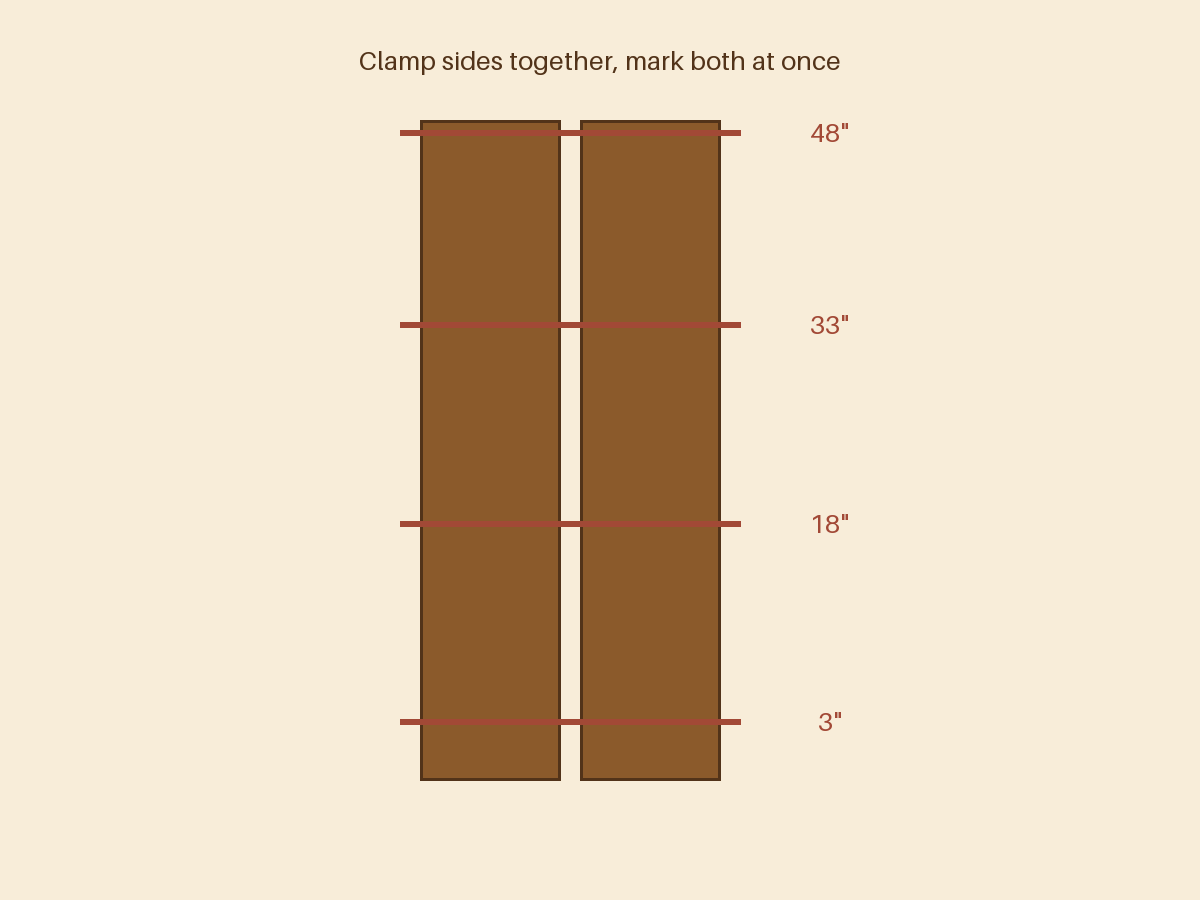
Step 3 of 6Clamp the two sides together, edges flush, and mark both at once: bottom shelf at 3", middle shelves at 18" and 33", top flush at 48". Marking them together is what makes the shelves come out level.
-
4
Assemble the carcass
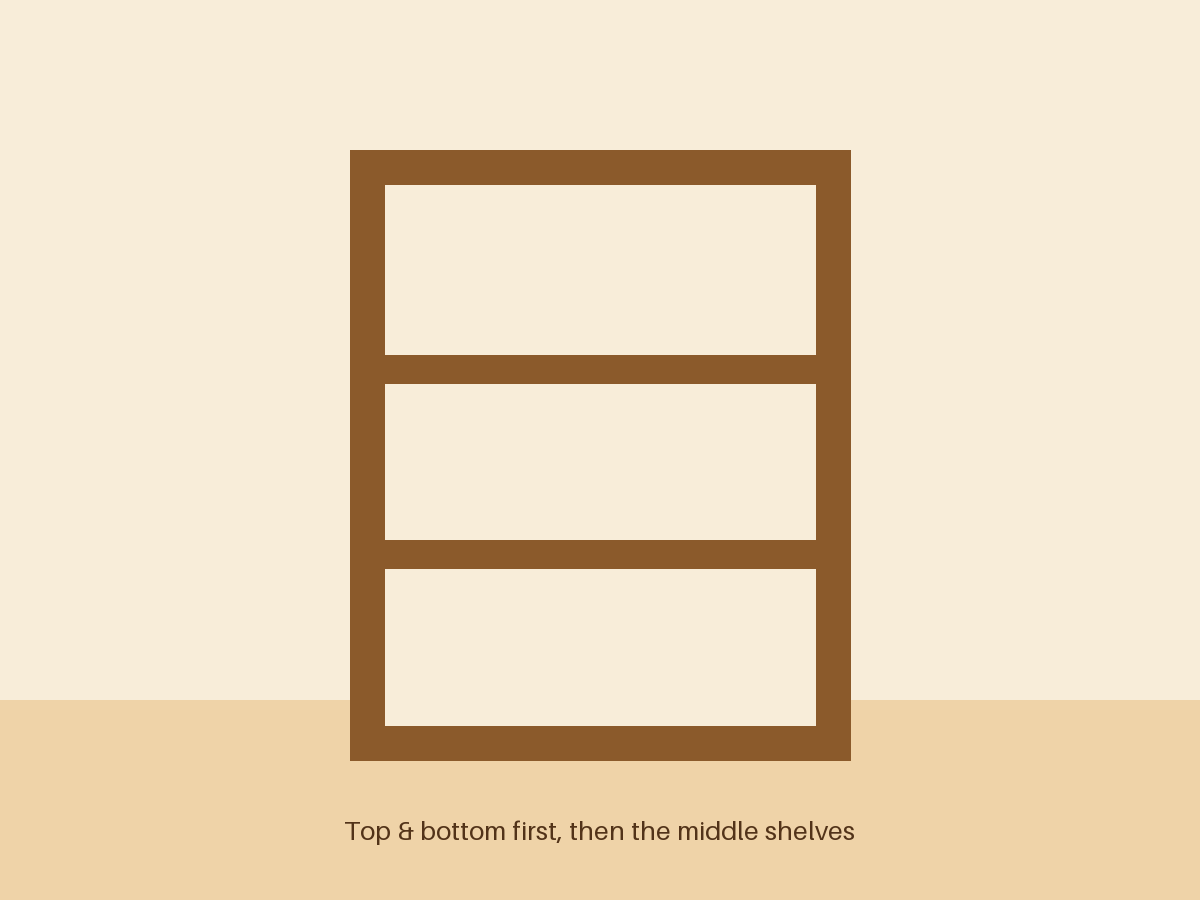
Step 4 of 6Screw the bottom and top shelves between the sides first — that makes a rigid frame. Then add the middle shelves at your marks. A helper (or a couple of clamps) to hold shelves on their lines makes this painless.
-
5
Square it with the back
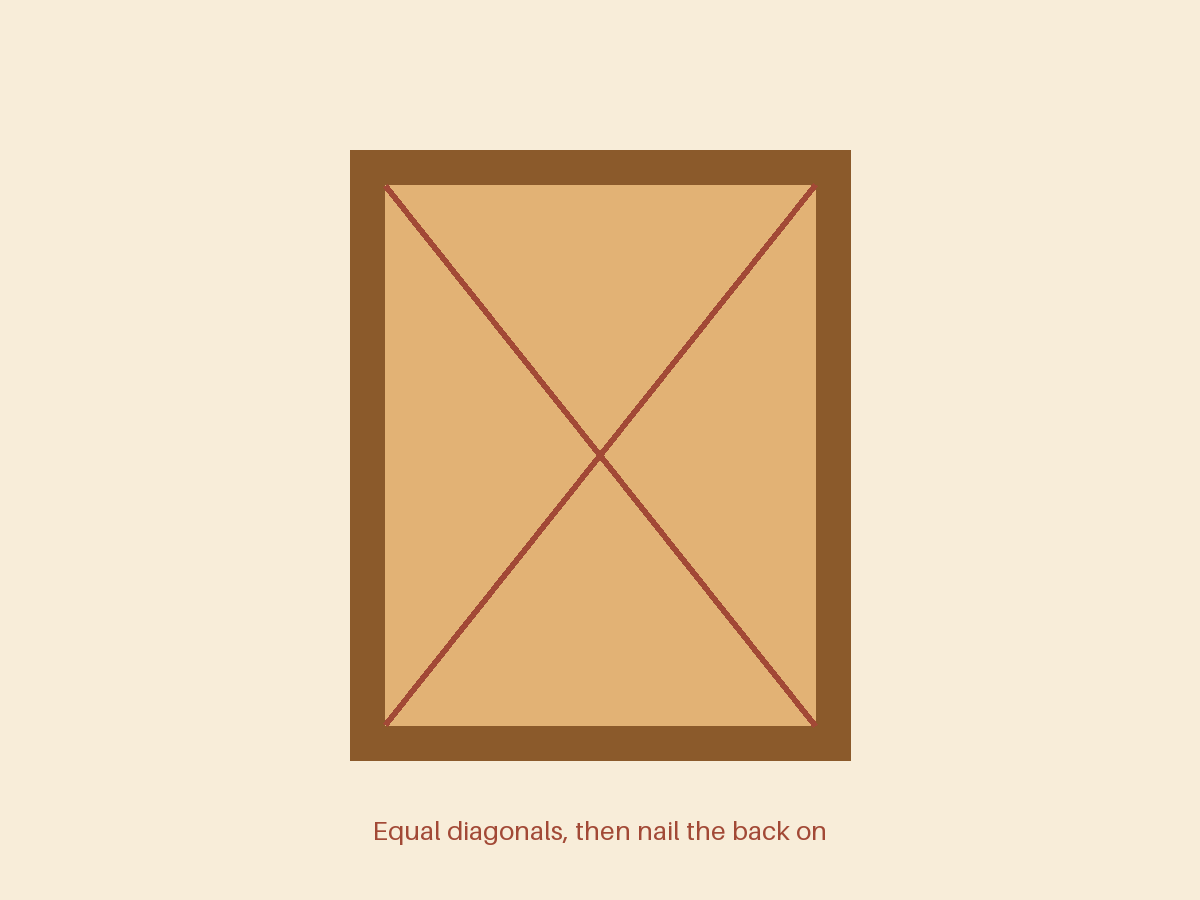
Step 5 of 6Measure the diagonals, rack the case gently until they match, then glue and brad-nail the plywood back on. The back is what keeps a bookcase square for the next thirty years, so get the diagonals right before nailing.
-
6
Sand and finish
Step 6 of 6Break all the edges, sand to 180, and apply two coats of poly with a light scuff between. If it will live on carpet, add small levelers; if children live with you, add an anti-tip strap to the wall.

Builds
Sign in to post your buildNo builds posted yet — be the first to show yours off.
Comments
Sign in to post a comment.