Step 1 — Cut the parts
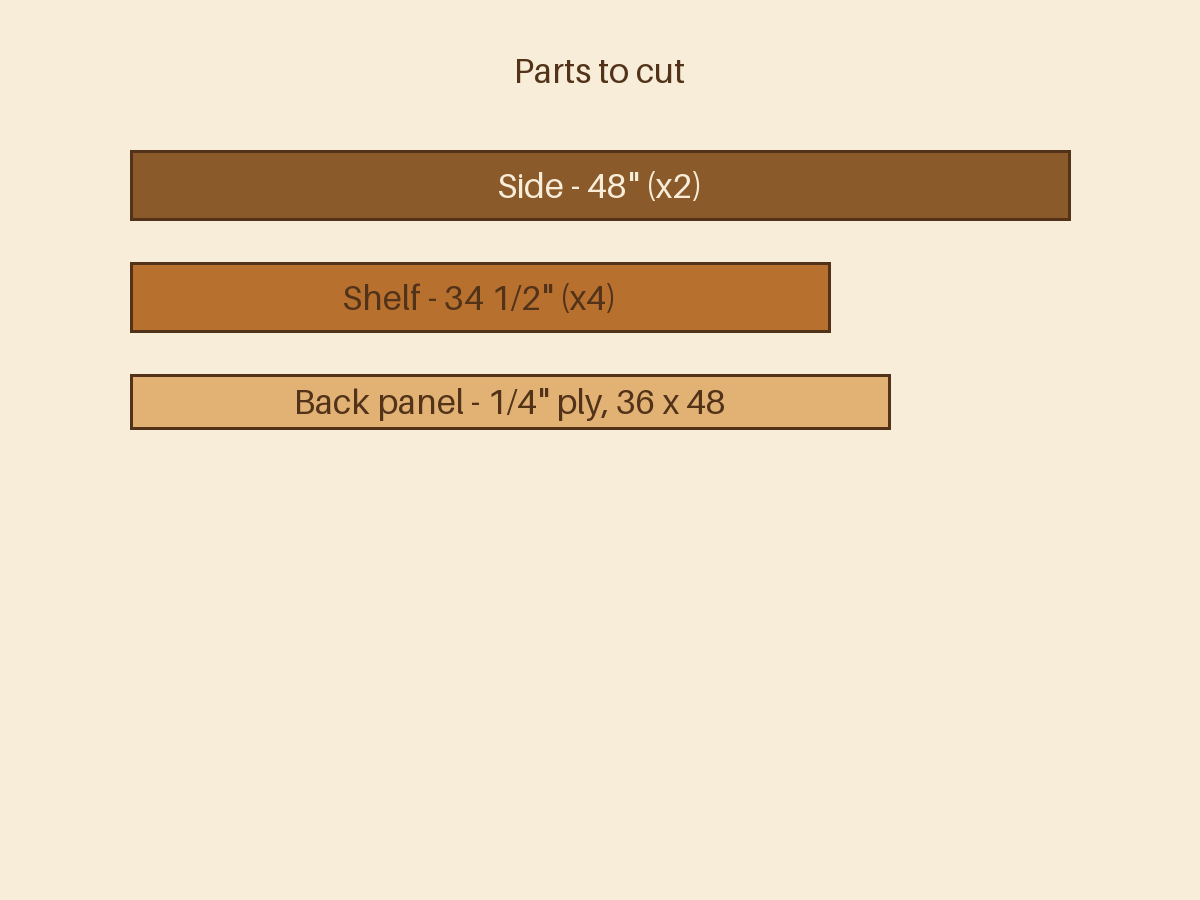
- 2 sides at 48"
- 4 shelves at 34 1/2" (top, bottom, two middle)
Square ends matter here — use a guide with the circular saw or a stop block on the miter saw so all four shelves are identical.
Step 2 — Drill the pocket holes
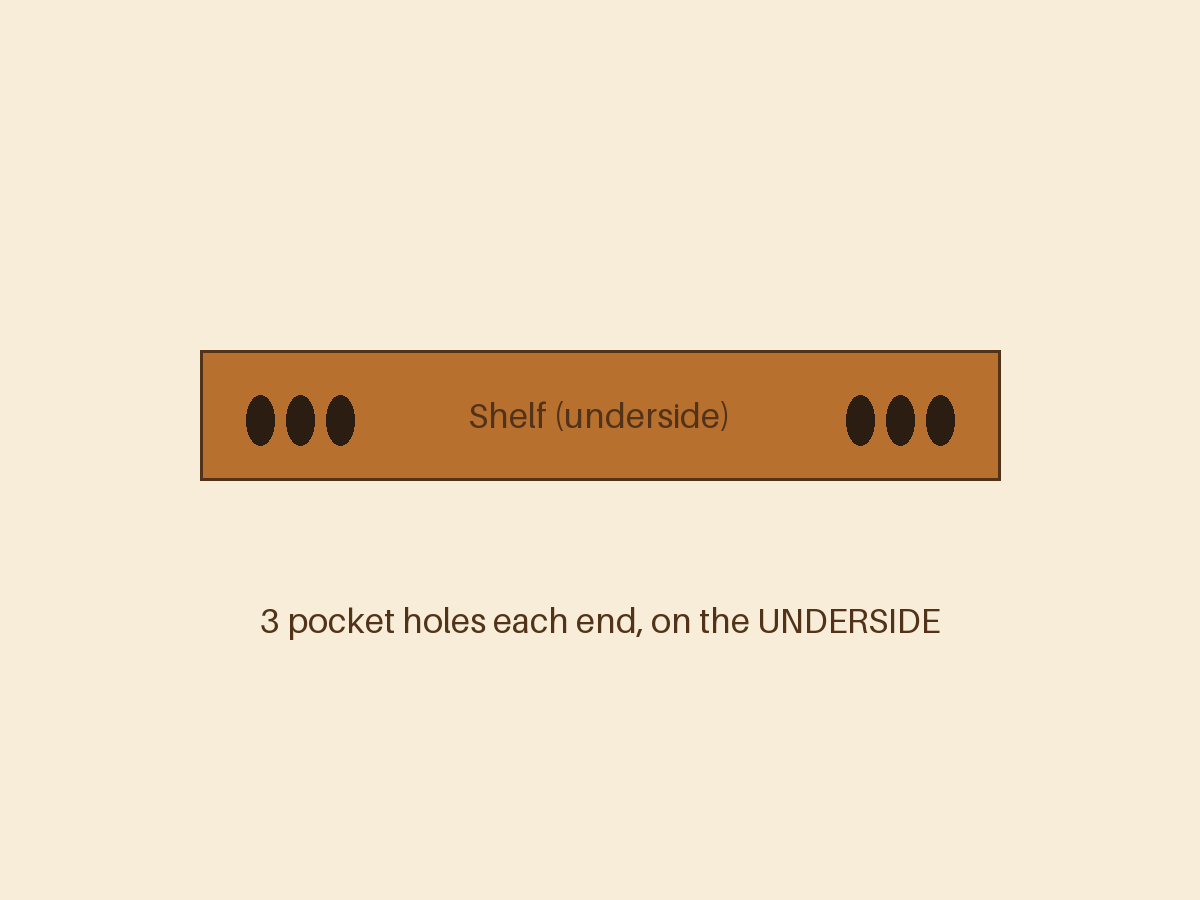
Drill three pocket holes in each end of every shelf, on the underside so they're hidden. Set the jig for 3/4" material.
Step 3 — Mark the shelf positions
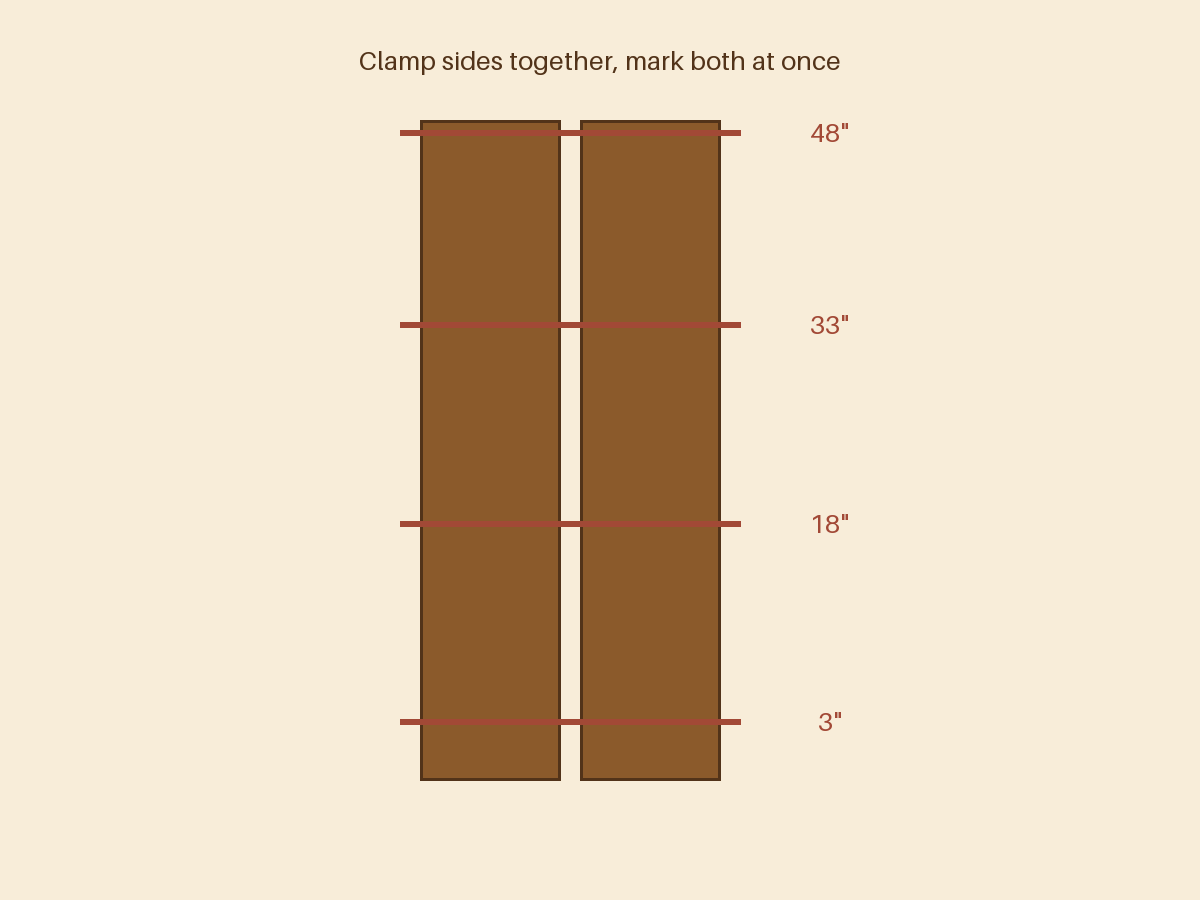
Clamp the two sides together, edges flush, and mark both at once: bottom shelf at 3", middle shelves at 18" and 33", top flush at 48". Marking them together is what makes the shelves come out level.
Step 4 — Assemble the carcass
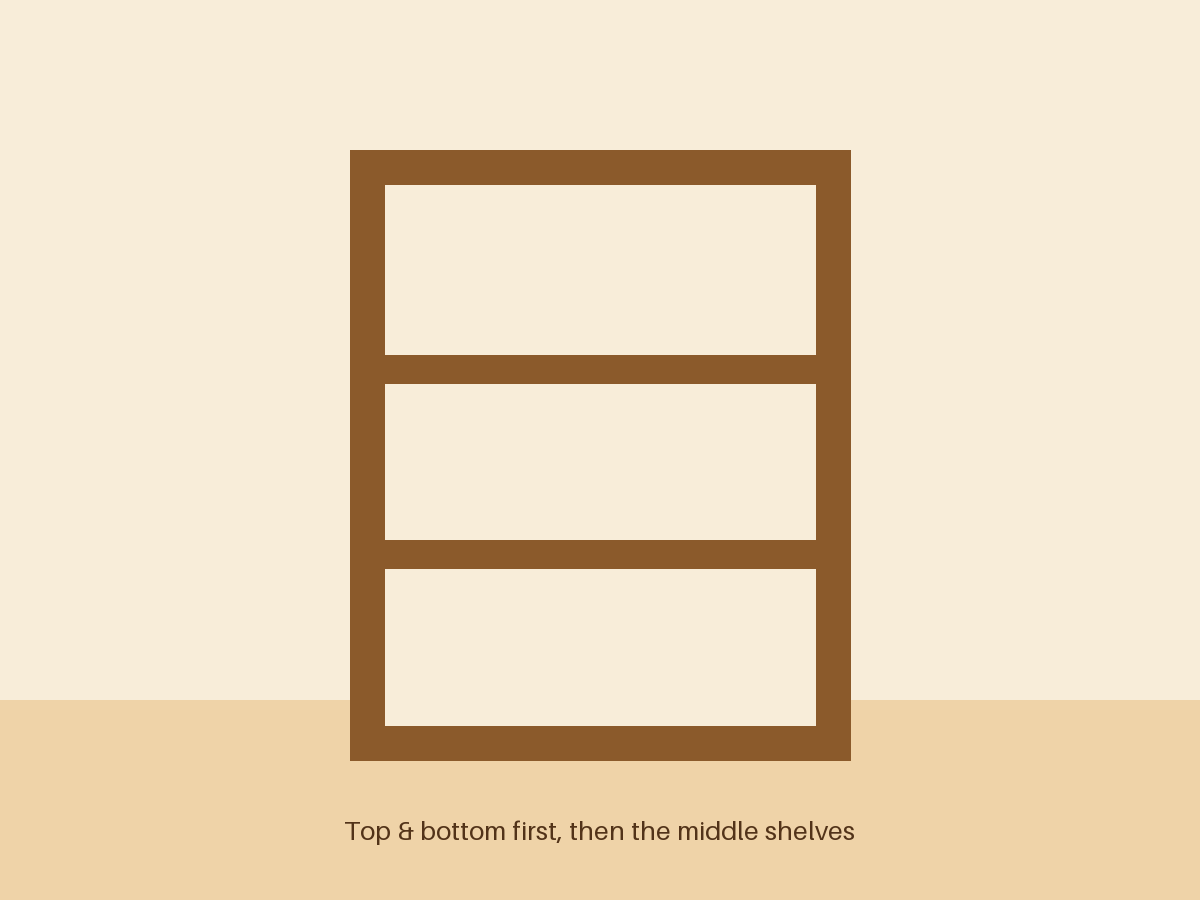
Screw the bottom and top shelves between the sides first — that makes a rigid frame. Then add the middle shelves at your marks. A helper (or a couple of clamps) to hold shelves on their lines makes this painless.
Step 5 — Square it with the back
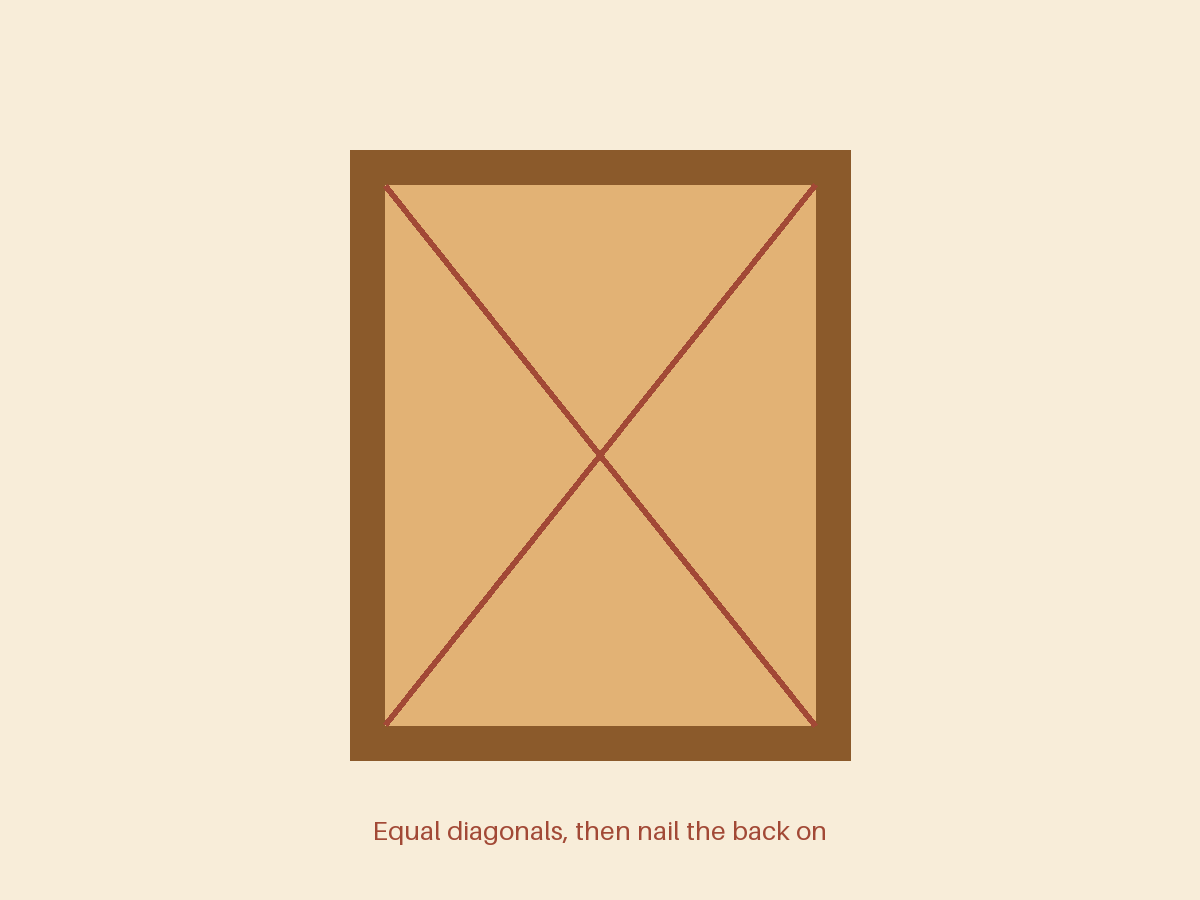
Measure the diagonals, rack the case gently until they match, then glue and brad-nail the plywood back on. The back is what keeps a bookcase square for the next thirty years, so get the diagonals right before nailing.
Step 6 — Sand and finish

Break all the edges, sand to 180, and apply two coats of poly with a light scuff between. If it will live on carpet, add small levelers; if children live with you, add an anti-tip strap to the wall.