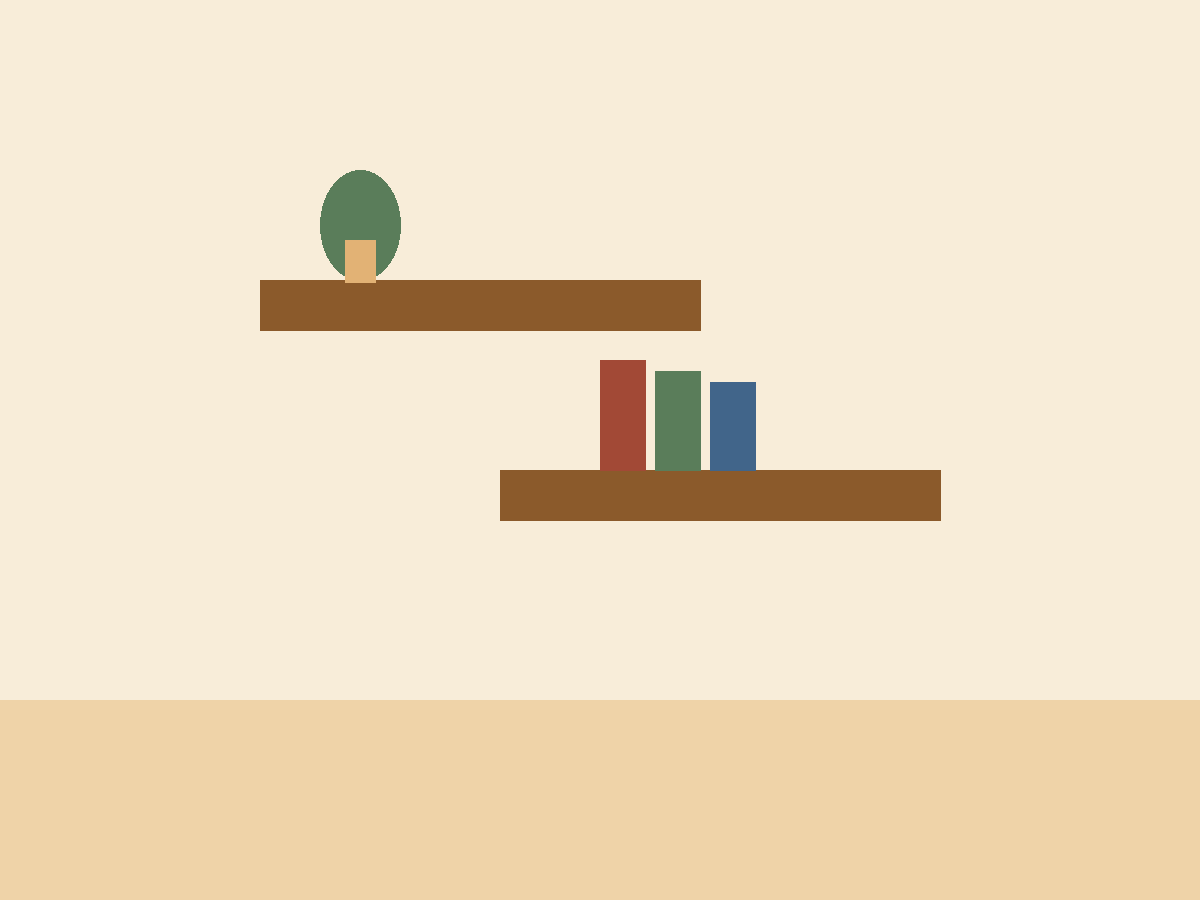
Chunky Floating Shelves
by Logan · Jul 9, 2026
- Build time
- A weekend
- Material cost
- $50–100
- Wood
- Any hardwood or clear pine
- Finished size
- 36" L × 8" D × 2" thick (per shelf)
Downloads
No files attached yet.
Jump to section ▾
Overview
This is an Example plan, has not been validated
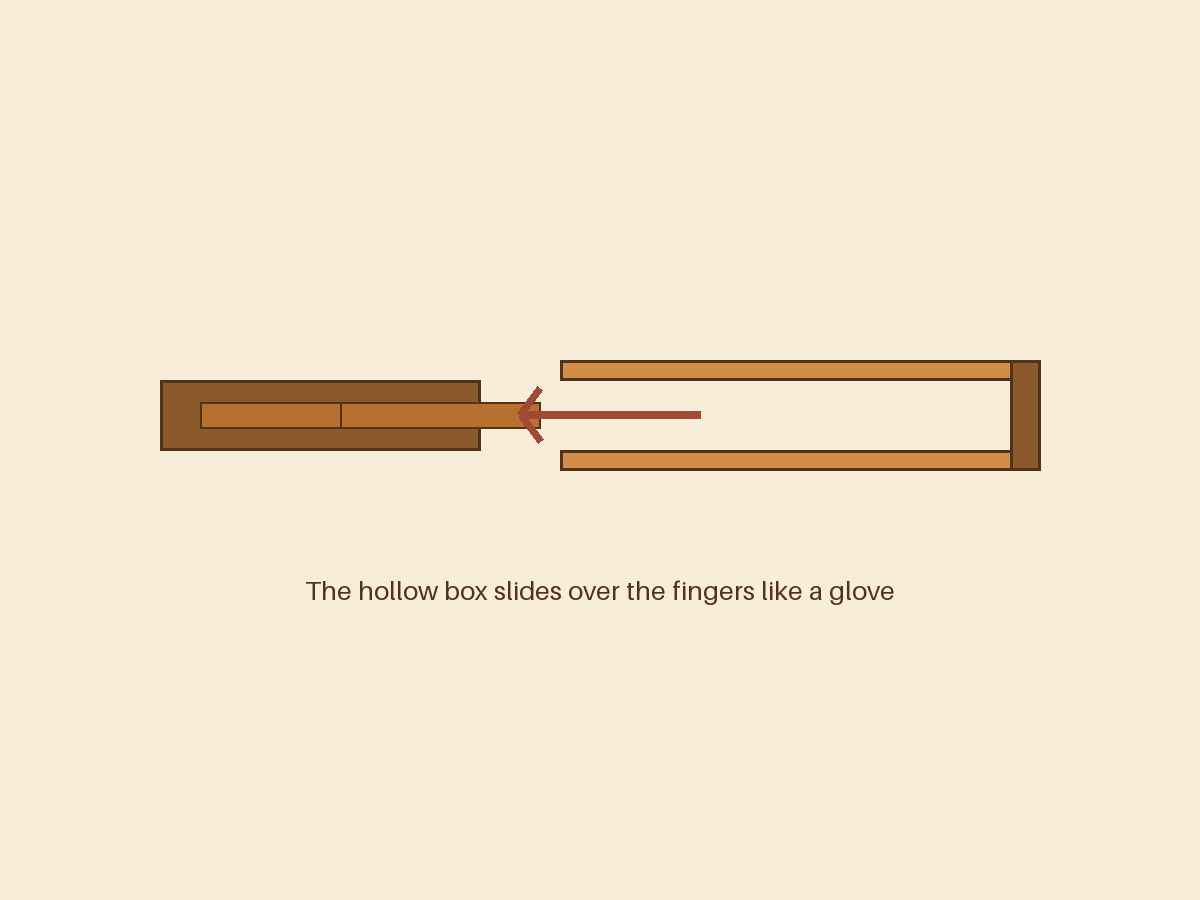
Thick, seamless shelves with no visible brackets. The trick: they're hollow. A cleat of 2x2 "fingers" bolts to the wall studs, and a three-sided box slides over it like a glove.
Hollow construction means a 2"-thick shelf that weighs almost nothing, costs a third of solid lumber, and — mounted into studs — still holds a row of hardcovers without complaint.
Materials
Check items off as you shop — saved on this deviceFinishing
Hardware & consumables
Lumber & sheet goods
Tools
- Table saw — Ripping the skins Also works: Circular saw, Track saw
- Drill — Plus a stud finder
- Brad nailer — Glue + clamps works, just slower Also works: Clamps
Everyday tools (hammer, tape measure, square) are assumed.
Build steps
-
1
Build the wall cleat
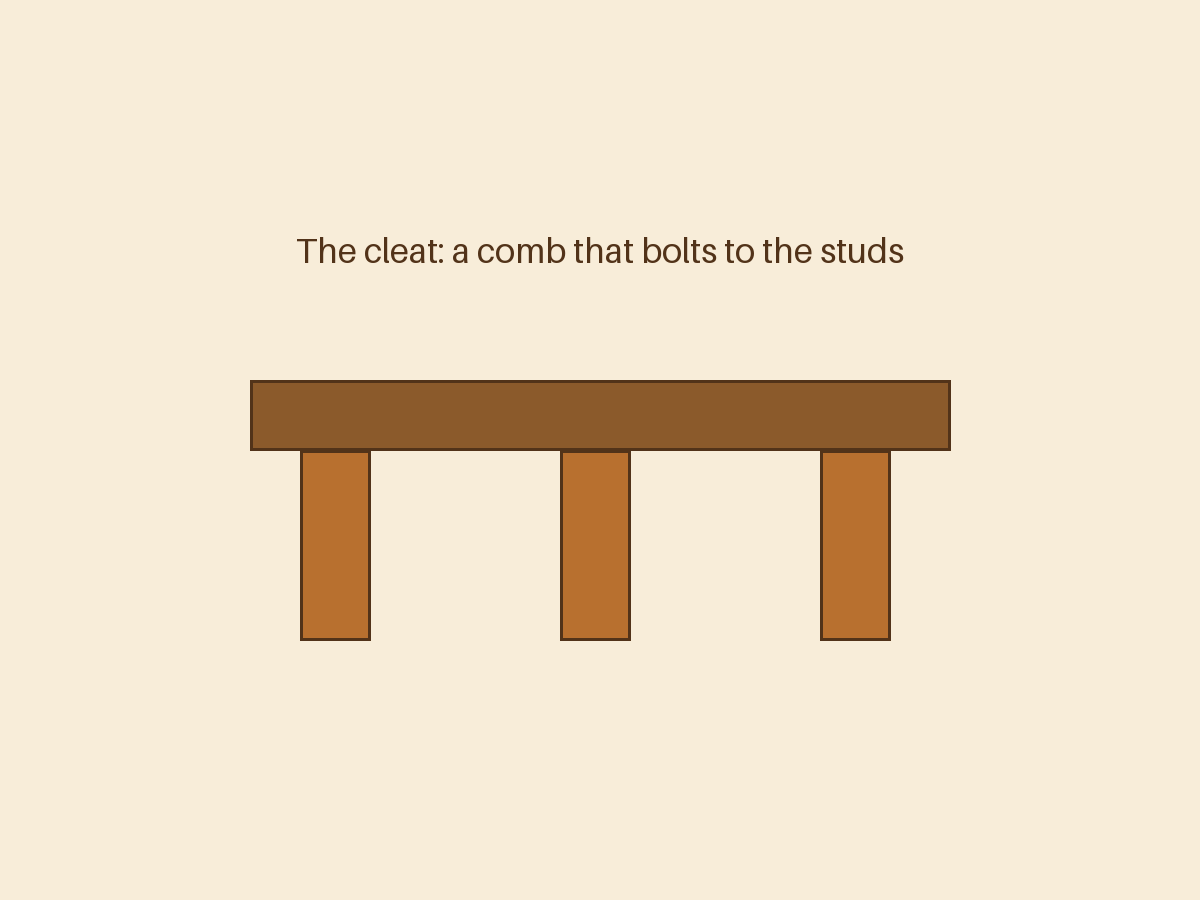
Step 1 of 6Cut a 2x2 to your shelf length minus 1". Cut 2x2 "fingers" at 6 1/2" — one for each stud you'll hit, at least three per shelf. Screw the fingers to the cleat at your stud spacing, making an E-shape (comb) that will be the shelf's skeleton.
-
2
Rip the skins
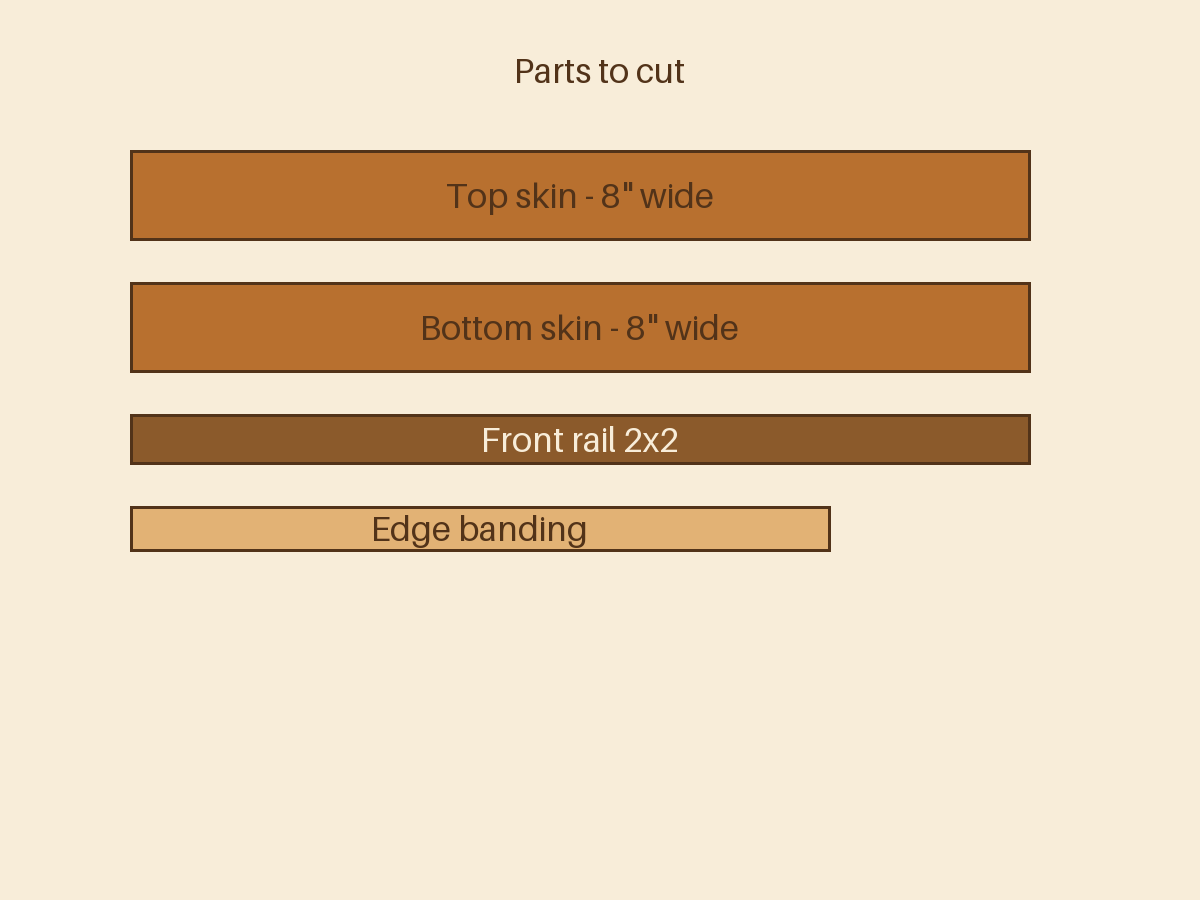
Step 2 of 6Rip your 1x10 into two skins (top and bottom) at 8" wide × shelf length. Their quality faces point out — the best board you have becomes the top of the shelf at eye level.
-
3
Box the cleat
Step 3 of 6Glue and brad-nail the top and bottom skins to a second 2x2 front rail so you get a hollow box that's open at the back. Dry-fit over the wall cleat: it should slide on snugly. If it binds, sand the fingers, not the box.
-
4
Band the edges
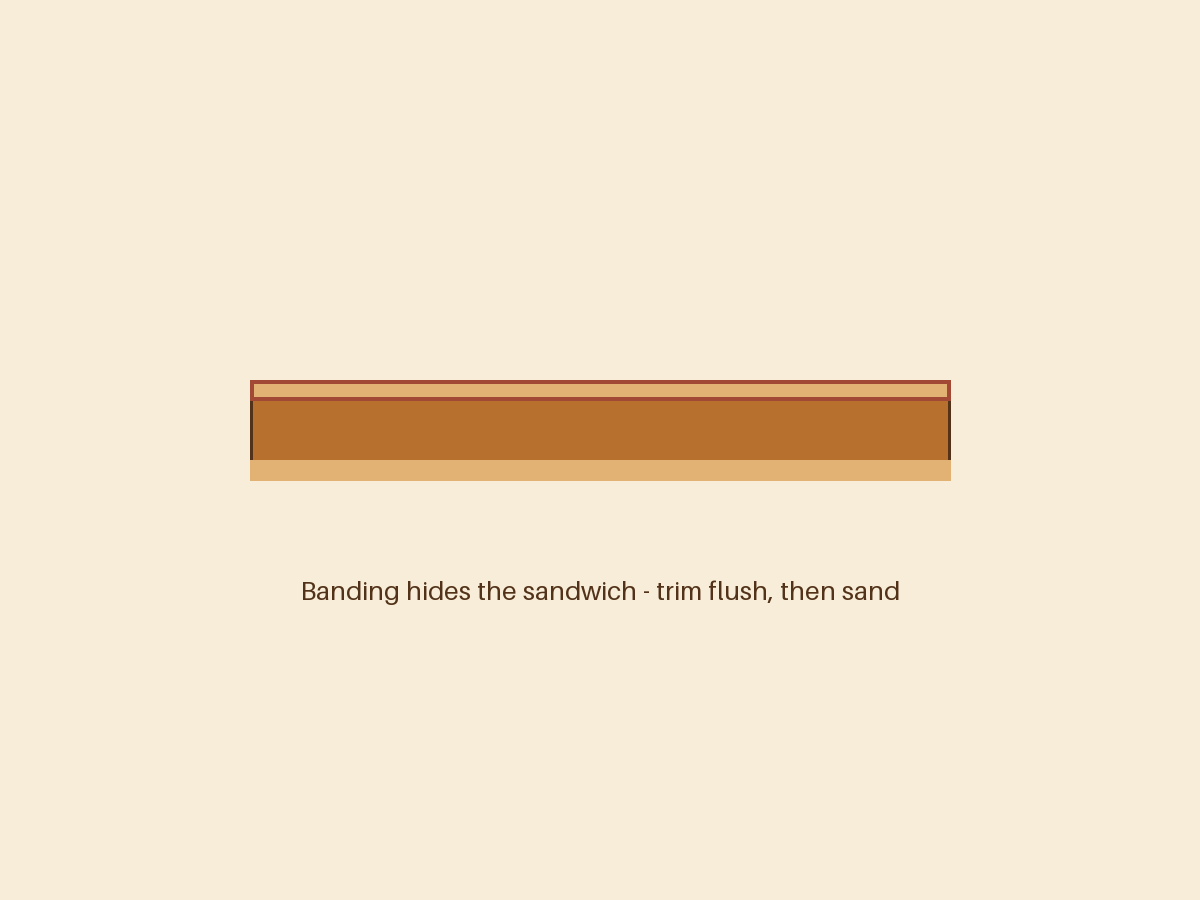
Step 4 of 6Glue the thin strip stock over the front and both ends to hide the sandwich construction. Trim flush after the glue dries. Sand to 180 and finish — oil looks best on the edge banding joints.
-
5
Mount the cleat to studs
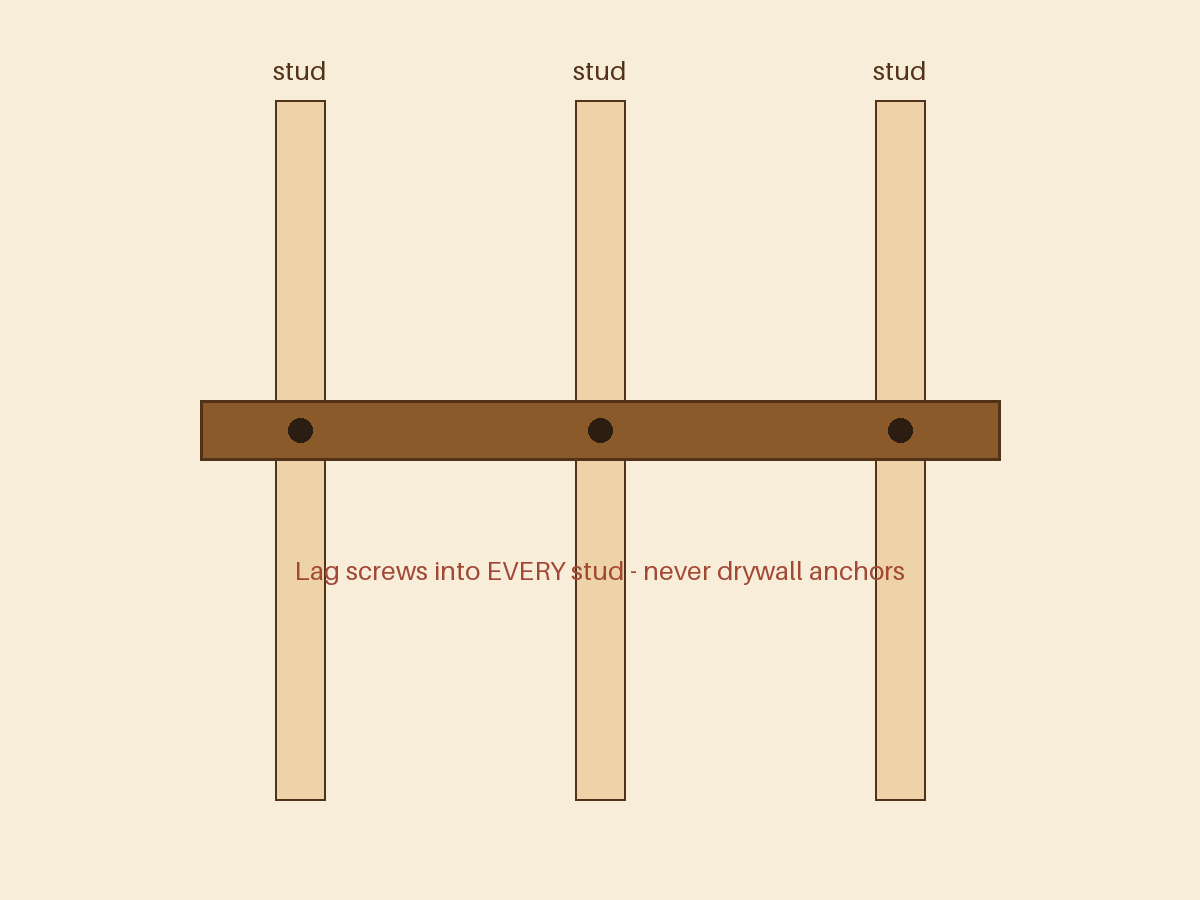
Step 5 of 6Find your studs, strike a level line, and lag-screw the cleat through into every stud with washers. This is the load path for everything the shelf will ever hold, so no drywall anchors, ever — studs or nothing.
-
6
Hang the shelf
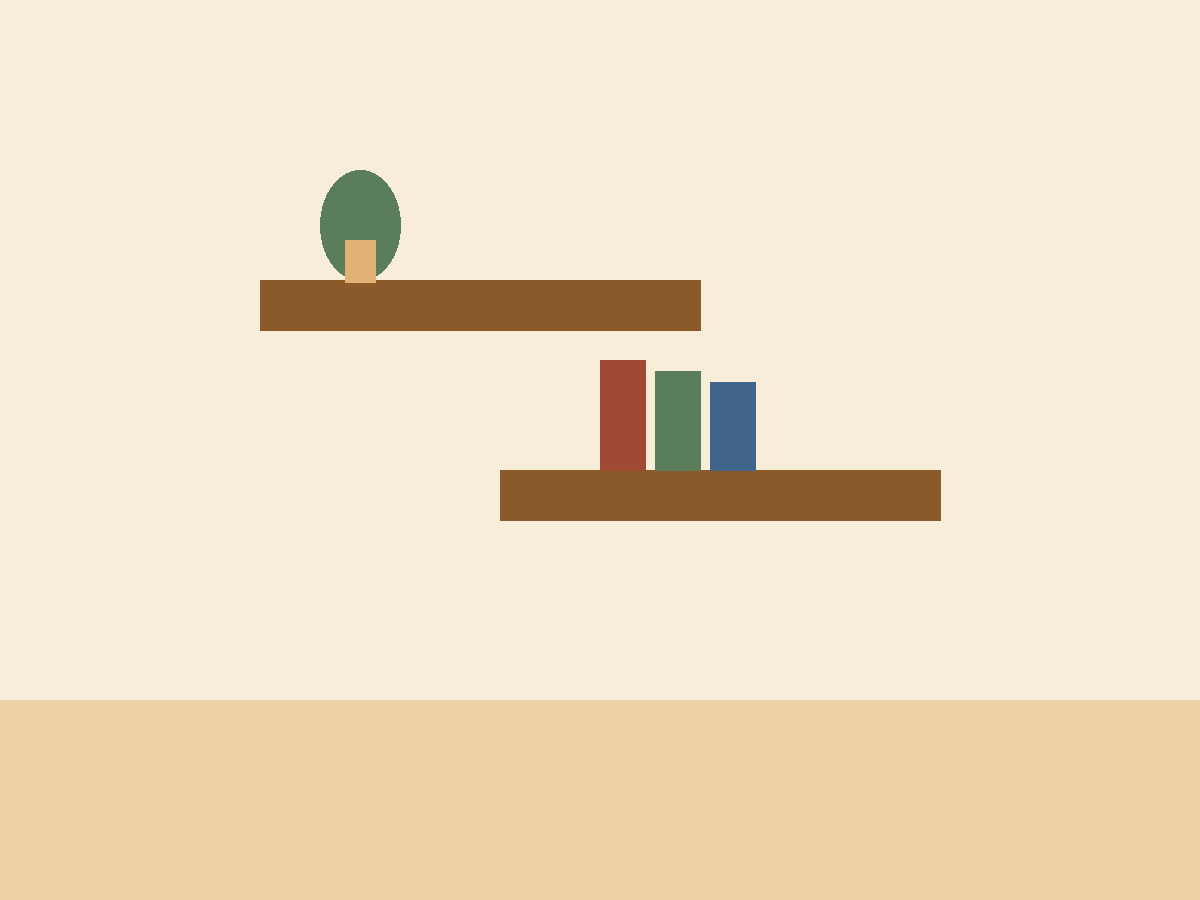
Step 6 of 6Slide the box over the fingers. A friction fit usually holds; for insurance, drive two small trim screws up through the bottom skin into fingers where they won't be seen. Load with books, step back, accept compliments.
Builds
Sign in to post your buildNo builds posted yet — be the first to show yours off.
Comments
Sign in to post a comment.