Step 1 — Build the wall cleat
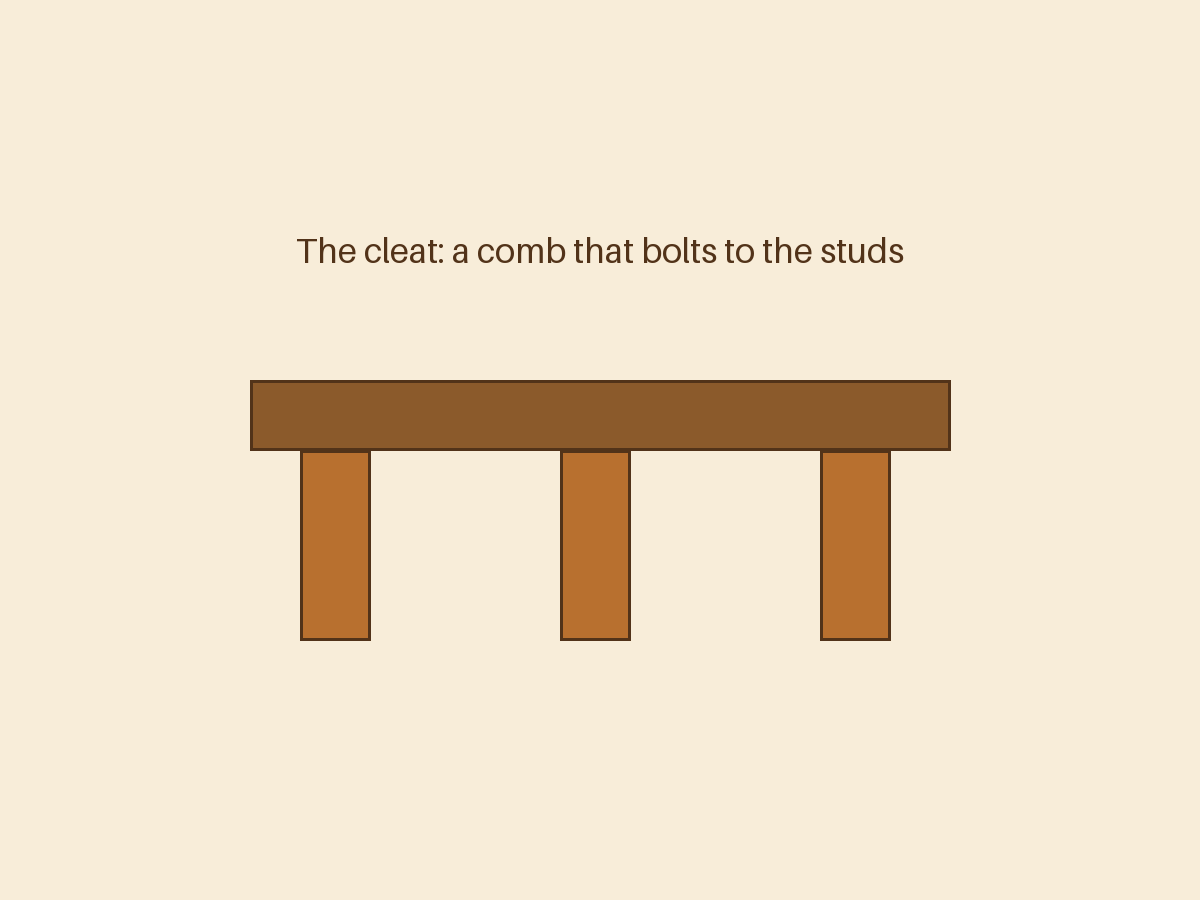
Cut a 2x2 to your shelf length minus 1". Cut 2x2 "fingers" at 6 1/2" — one for each stud you'll hit, at least three per shelf. Screw the fingers to the cleat at your stud spacing, making an E-shape (comb) that will be the shelf's skeleton.
Step 2 — Rip the skins
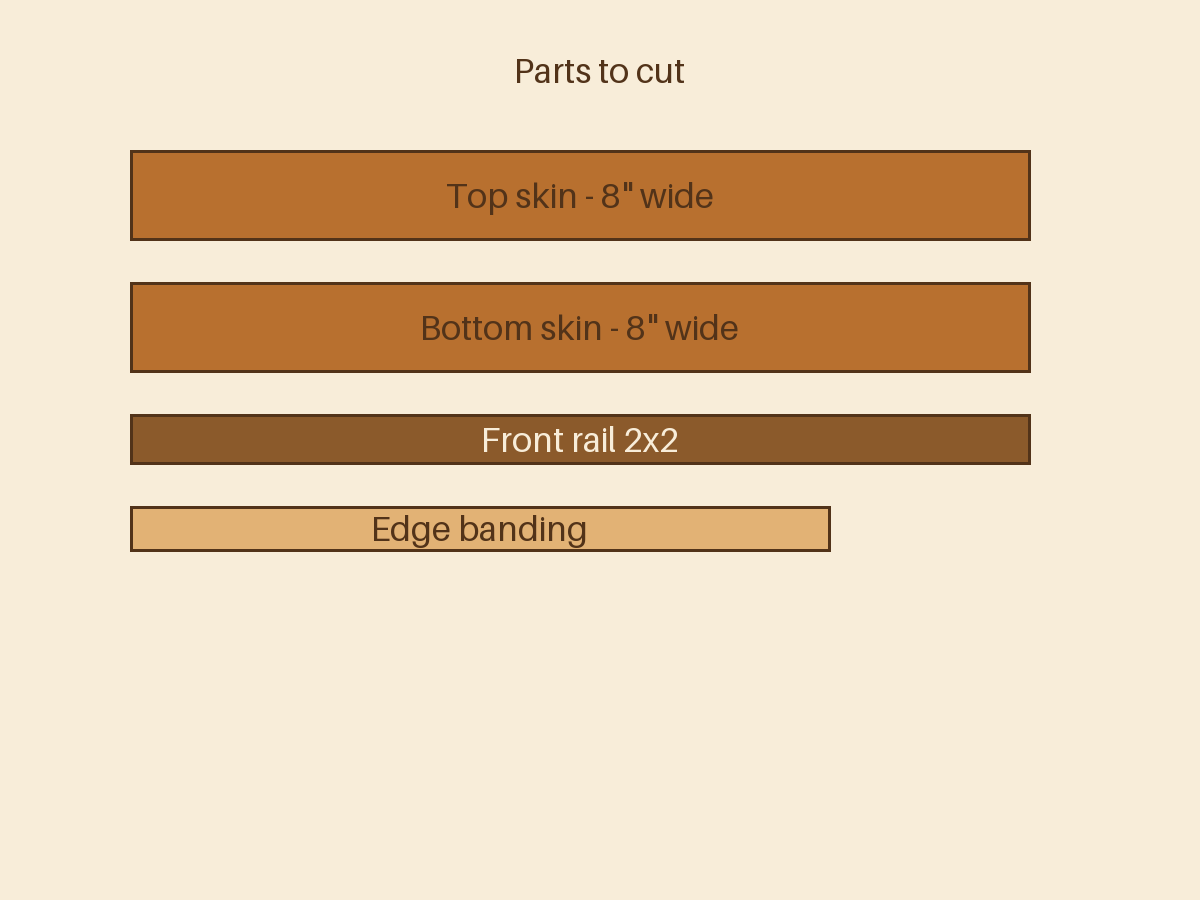
Rip your 1x10 into two skins (top and bottom) at 8" wide × shelf length. Their quality faces point out — the best board you have becomes the top of the shelf at eye level.
Step 3 — Box the cleat
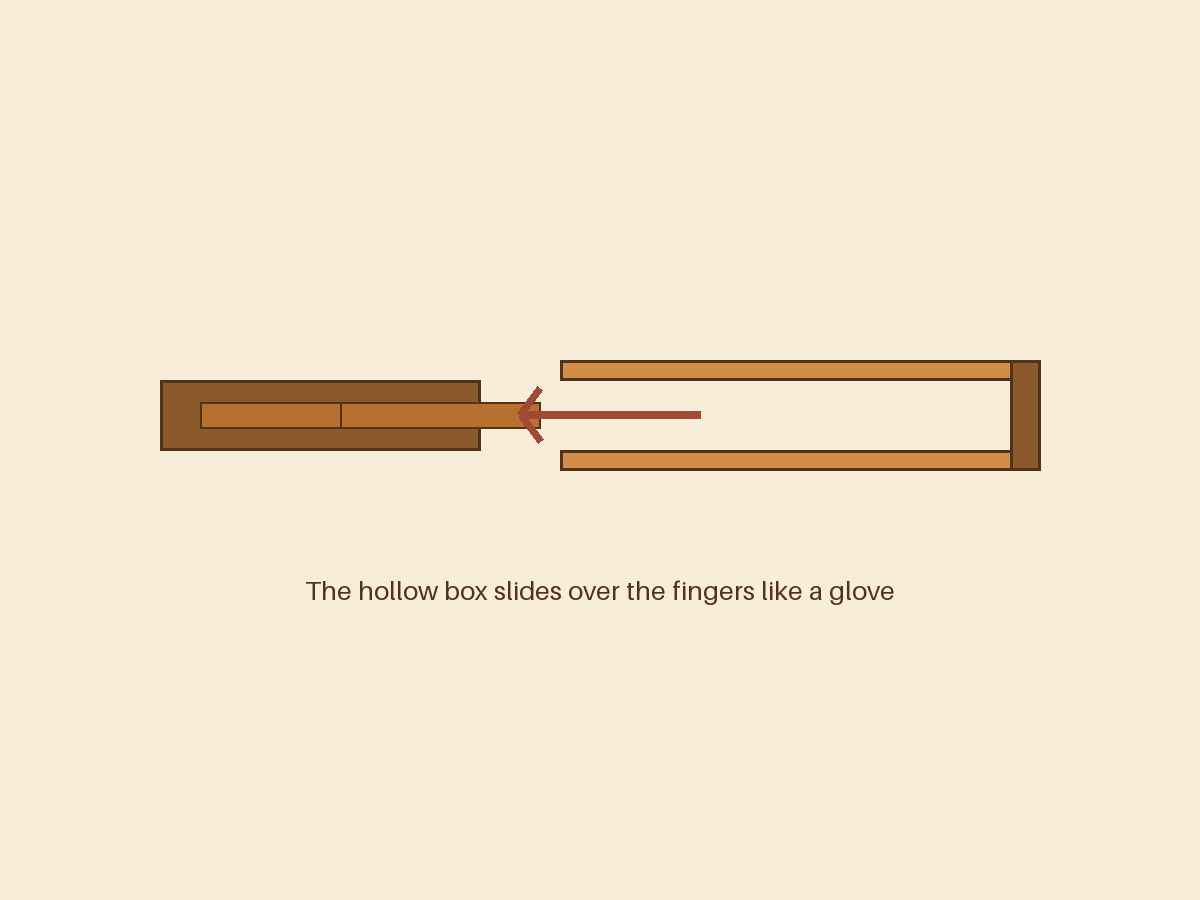
Glue and brad-nail the top and bottom skins to a second 2x2 front rail so you get a hollow box that's open at the back. Dry-fit over the wall cleat: it should slide on snugly. If it binds, sand the fingers, not the box.
Step 4 — Band the edges
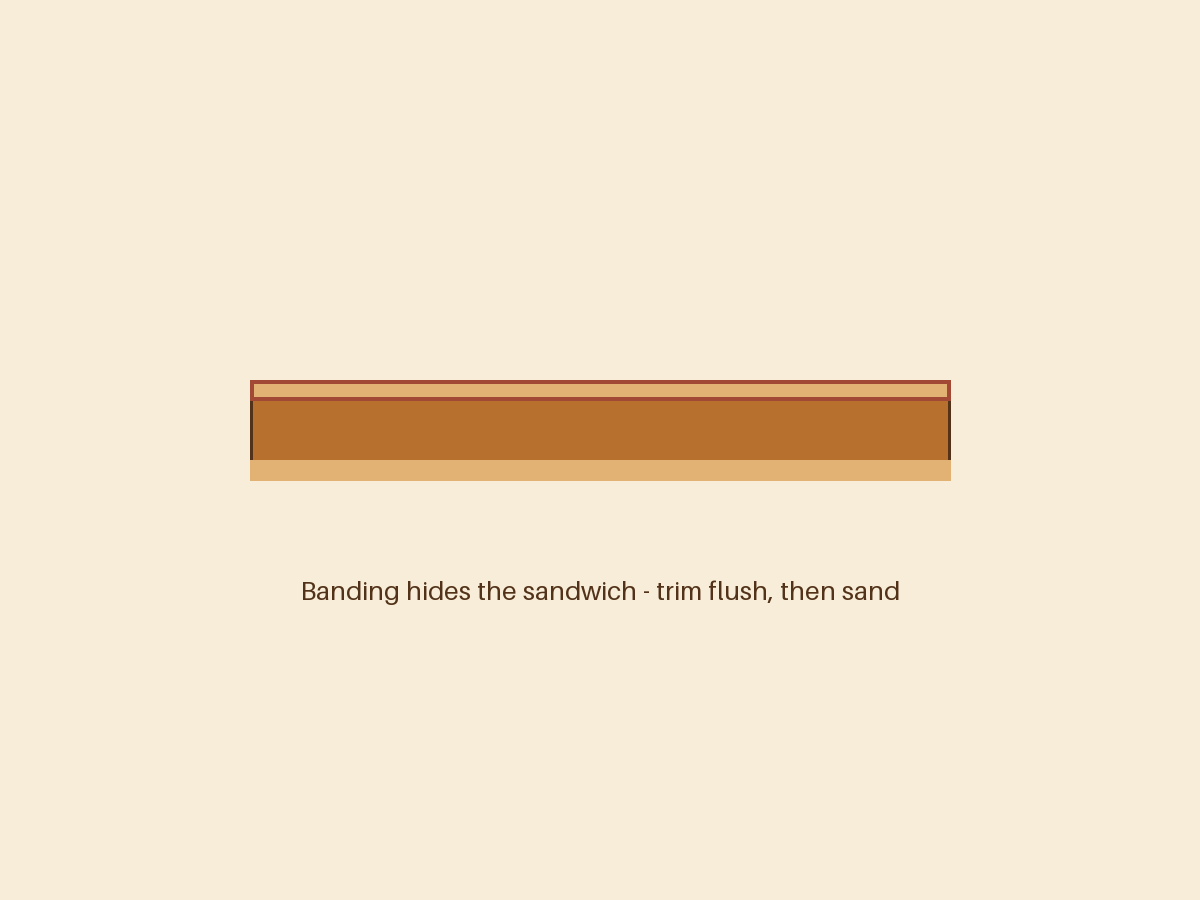
Glue the thin strip stock over the front and both ends to hide the sandwich construction. Trim flush after the glue dries. Sand to 180 and finish — oil looks best on the edge banding joints.
Step 5 — Mount the cleat to studs
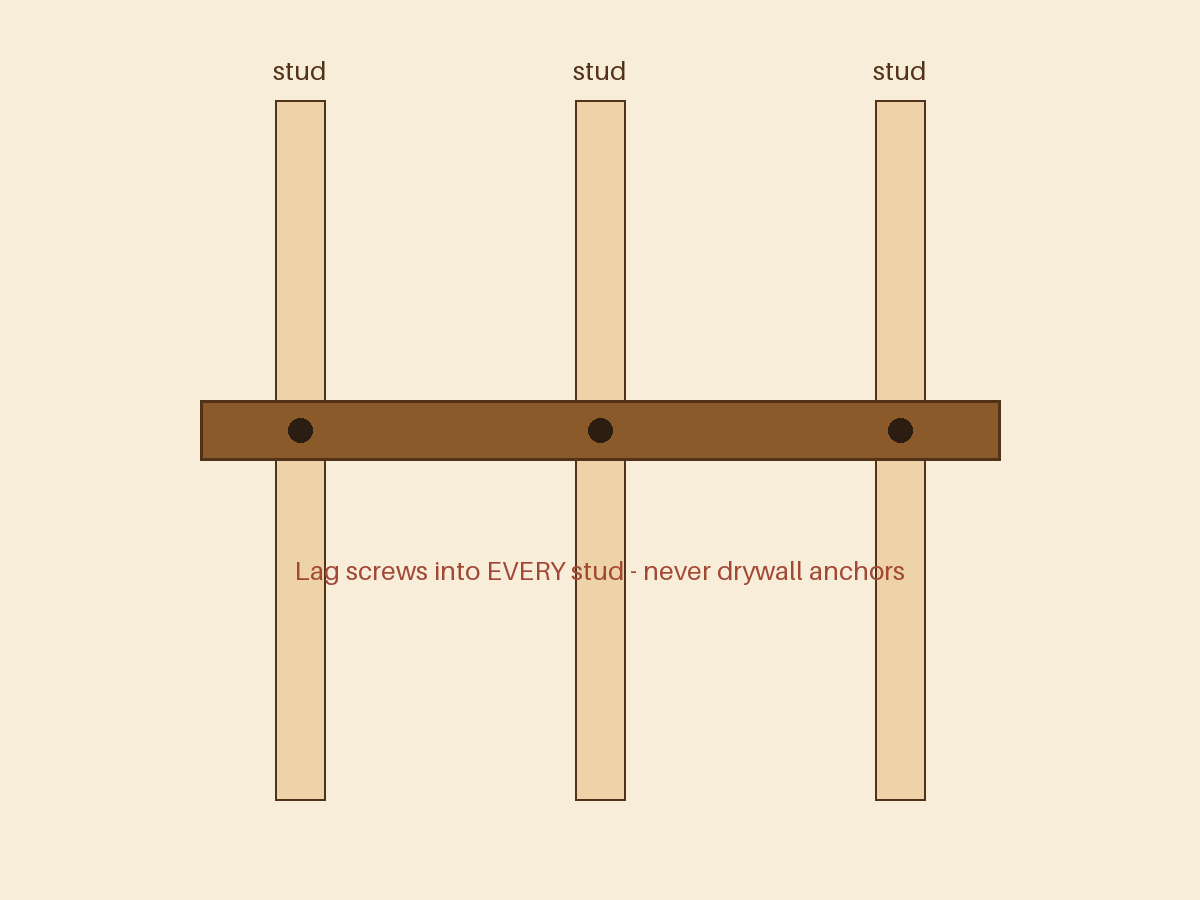
Find your studs, strike a level line, and lag-screw the cleat through into every stud with washers. This is the load path for everything the shelf will ever hold, so no drywall anchors, ever — studs or nothing.
Step 6 — Hang the shelf
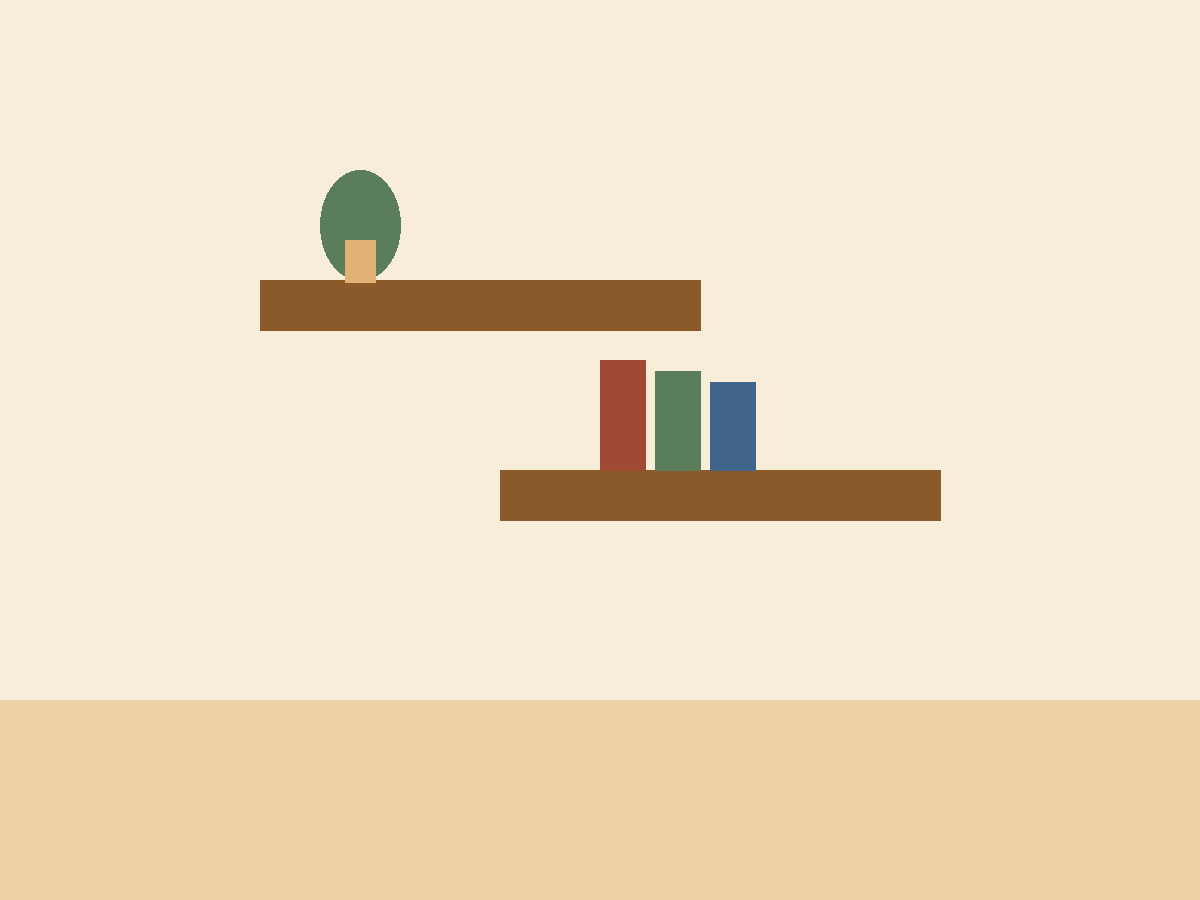
Slide the box over the fingers. A friction fit usually holds; for insurance, drive two small trim screws up through the bottom skin into fingers where they won't be seen. Load with books, step back, accept compliments.