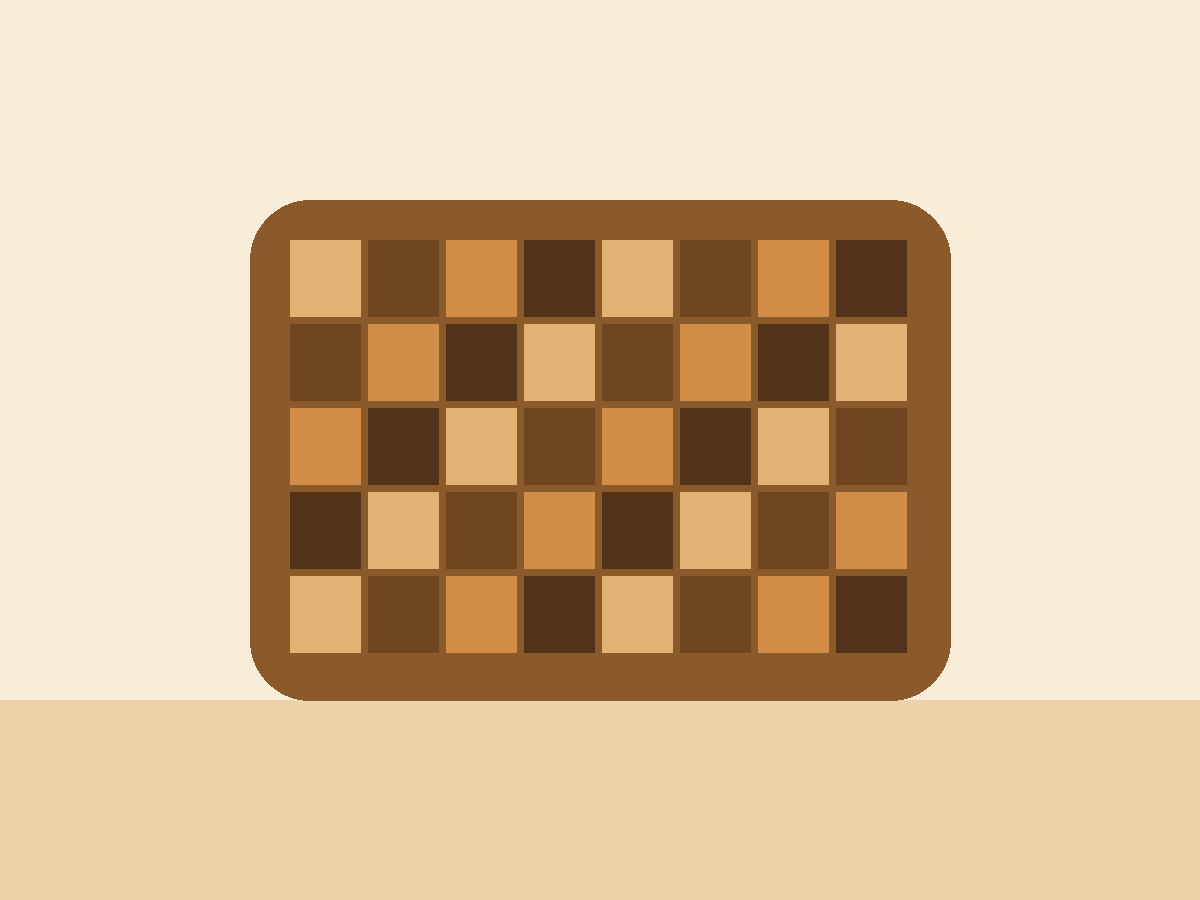
End-Grain Cutting Board
by Logan · Jul 9, 2026
- Build time
- A weekend
- Material cost
- $50–100
- Wood
- Hard maple + walnut
- Finished size
- 16" × 12" × 1 1/2"
Downloads
No files attached yet.
Jump to section ▾
Overview
This is an Example plan, has not been validated
The checkerboard end-grain board: the classic woodworking gift, and the project that teaches you glue-ups. End grain is kinder to knife edges and self-heals shallow cuts, which is why butcher blocks are built this way.
The trick that makes it easy: you do two glue-ups. The first makes a striped slab; the second crosscuts that slab and rotates the pieces to expose end grain. No piece-by-piece checkerboard assembly.
Materials
Check items off as you shop — saved on this deviceFinishing
Hardware & consumables
Lumber & sheet goods
Tools
- Table saw — Ripping strips and crosscutting the slab
- Thickness planer — Flattening after the first glue-up ONLY — never plane end grain Also works: Hand plane, Random orbit sander
- Clamps — At least four 24" clamps
- Random orbit sander — 80 through 220 grit
Everyday tools (hammer, tape measure, square) are assumed.
Build steps
-
1
Mill the strips
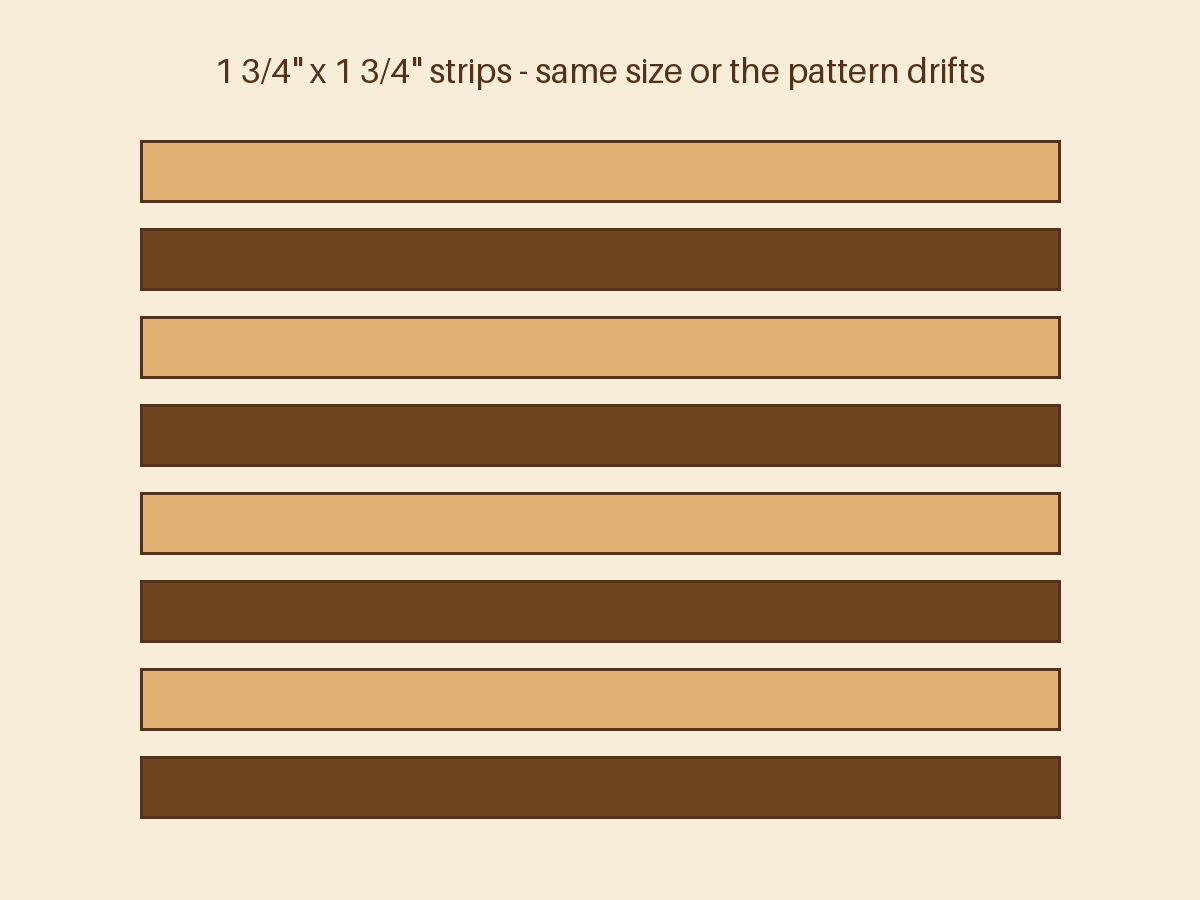
Step 1 of 6Rip your maple and walnut into clean, square 1 3/4" × 1 3/4" strips, 24" long. Alternate-species strips must be the same dimensions or the checkerboard will drift — check with calipers if you have them.
-
2
First glue-up: the striped slab
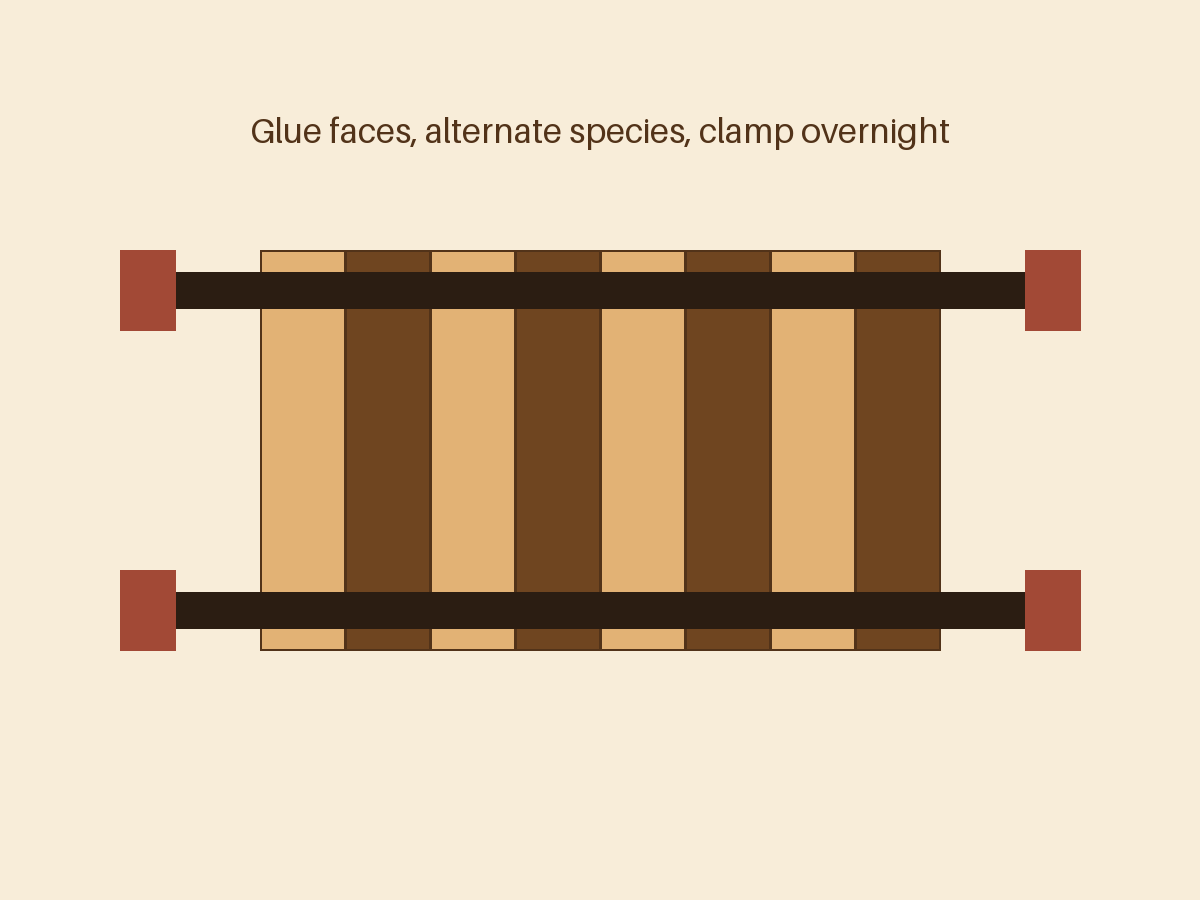
Step 2 of 6Glue the strips face-to-face, alternating maple and walnut, into one striped slab. Even clamp pressure, glue on every face. Let it cure overnight — this joint gets crosscut tomorrow and needs full strength.
-
3
Flatten the slab
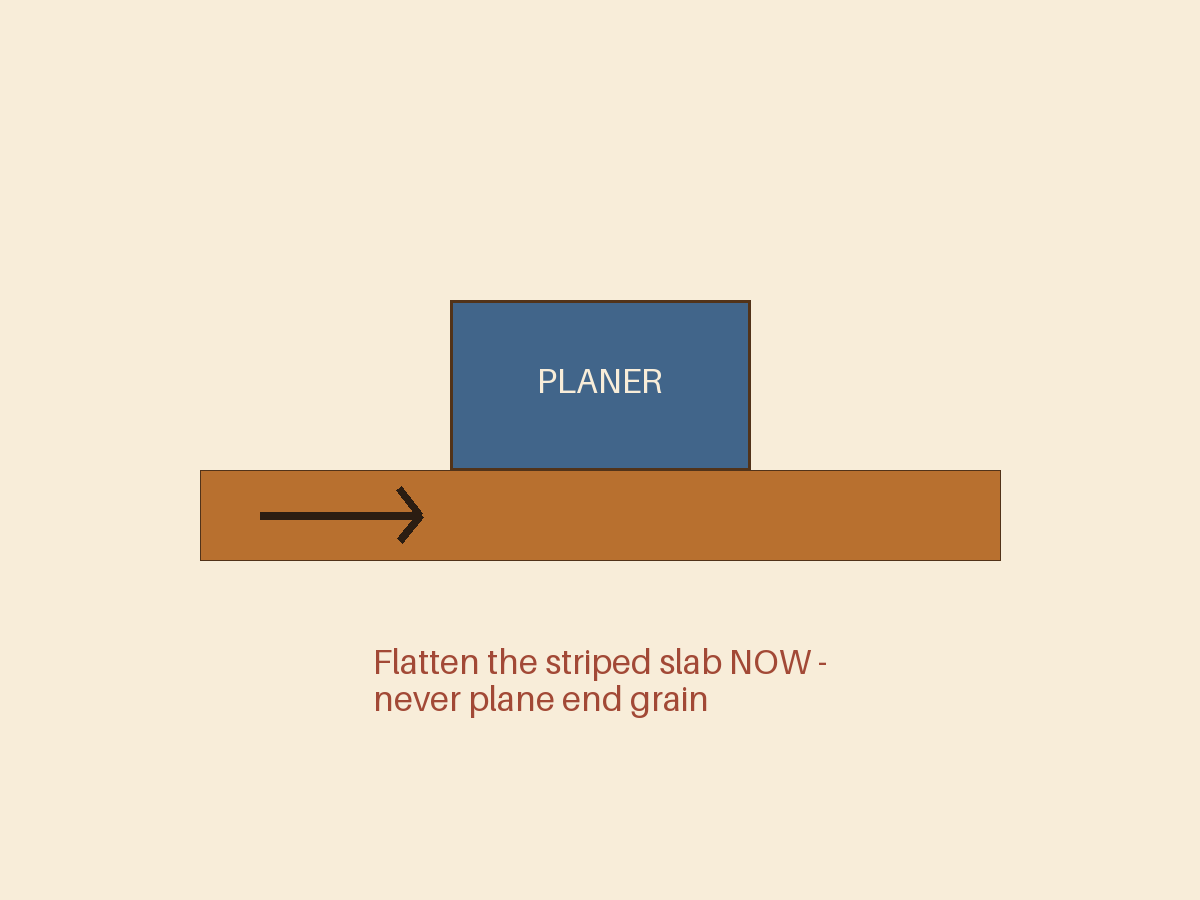
Step 3 of 6Scrape off the dried squeeze-out and run the slab through the planer (or hand-plane it) until both faces are flat and parallel. This is your last chance to use the planer — the next glue-up produces end grain, which planers tear out violently. Do not skip flattening now.
-
4
Crosscut and rotate
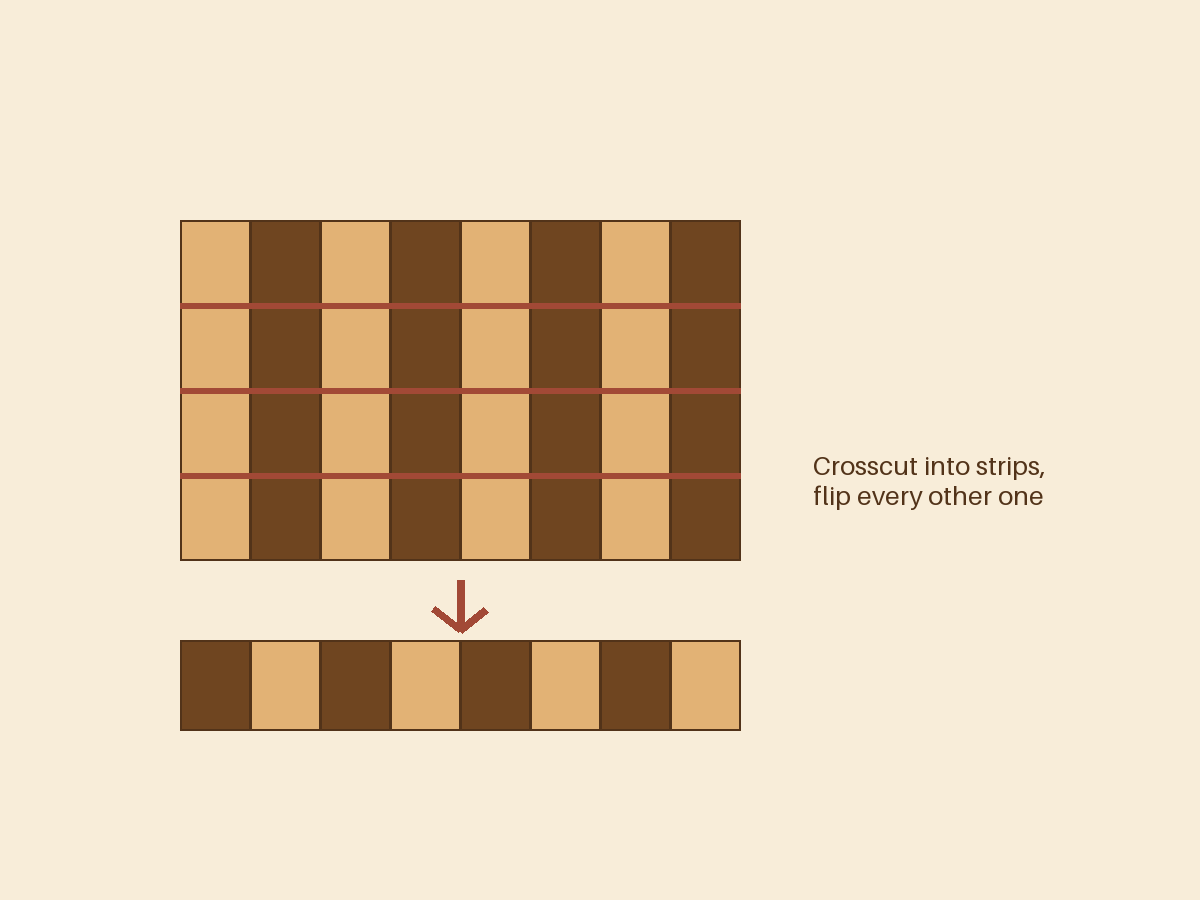
Step 4 of 6Crosscut the slab into 1 3/4"-wide pieces. Rotate each piece 90° so the end grain faces up, and flip every other one so the species alternate — the checkerboard appears. Dry-fit and admire before any glue.
-
5
Second glue-up
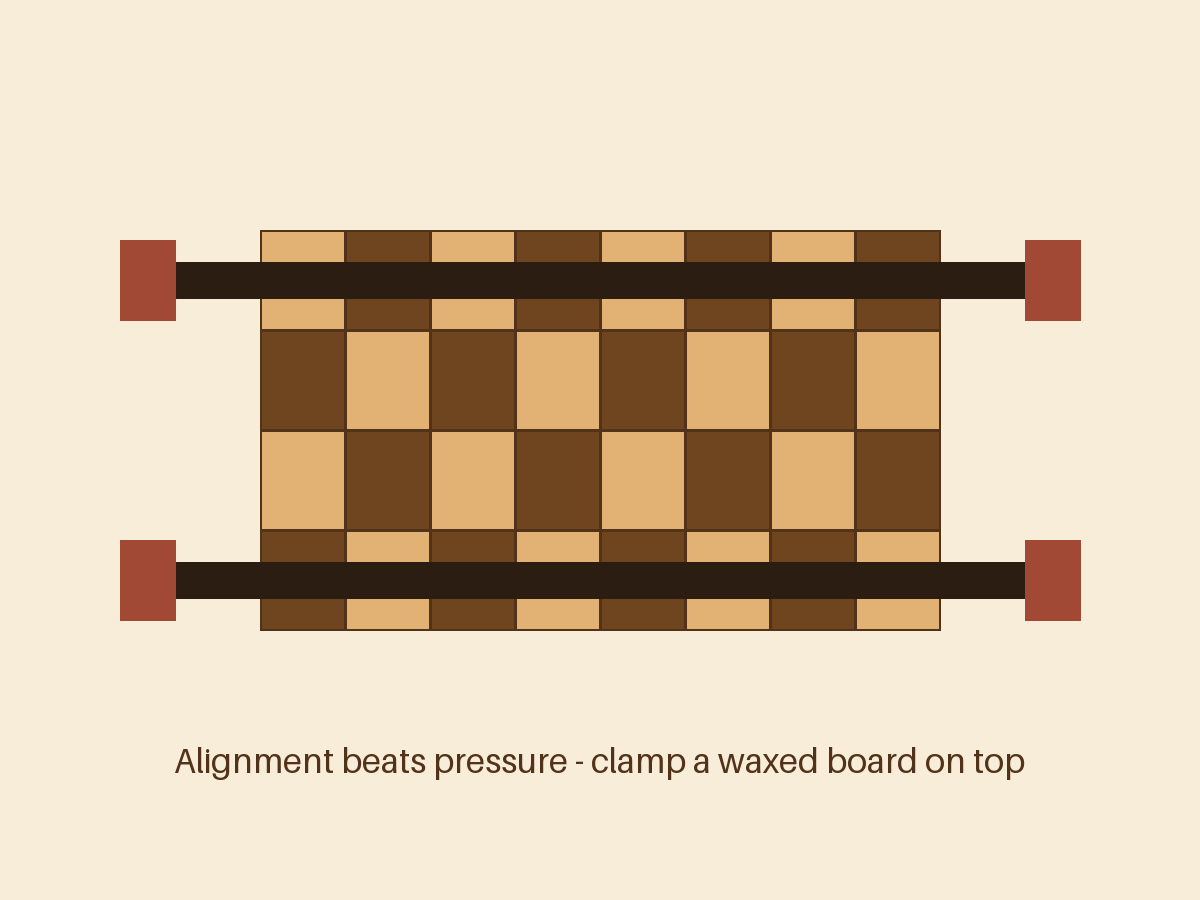
Step 5 of 6Glue the rotated pieces back together. Alignment matters more than pressure here — clamp a flat board (waxed, so it doesn't stick) across the top to keep everything level while the clamps pull sideways.
-
6
Sand, round, and finish
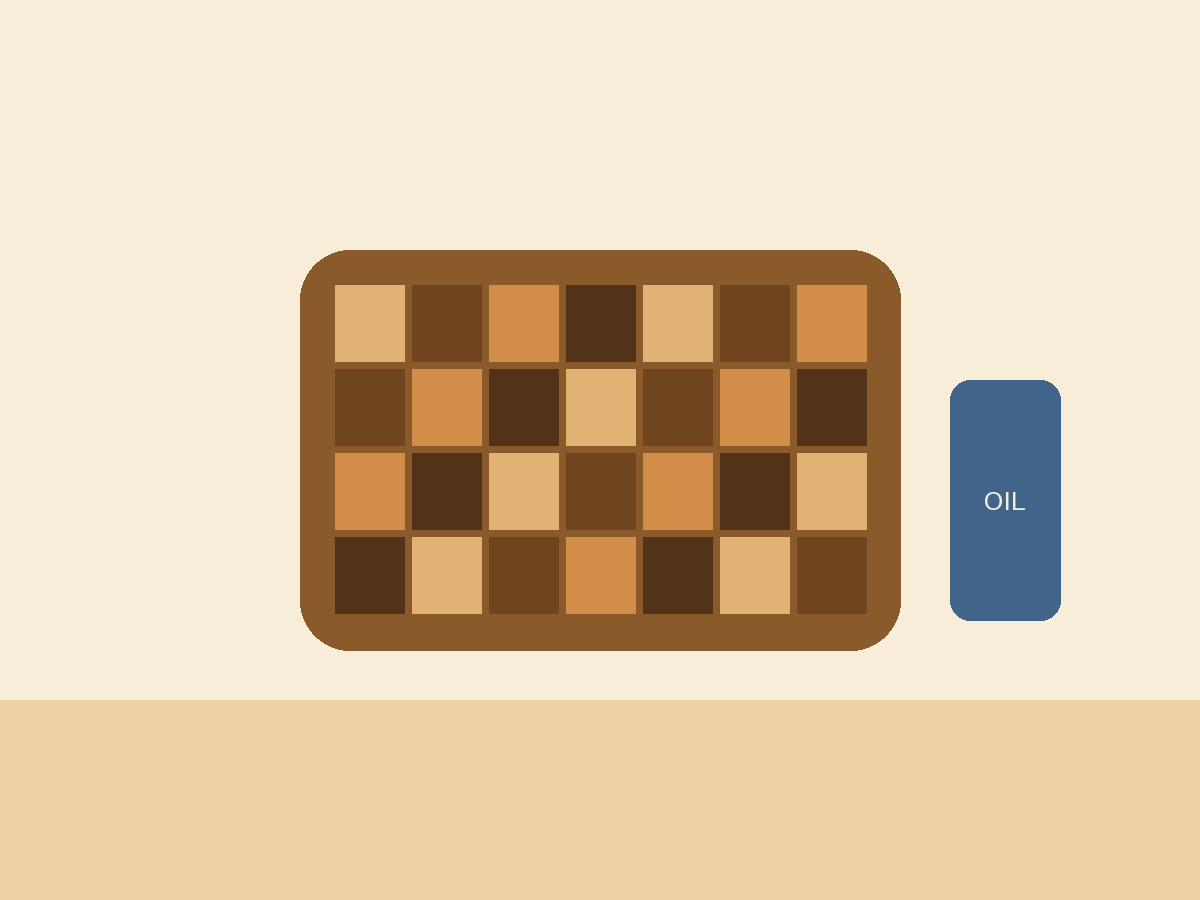
Step 6 of 6Sand from 80 to 220 grit. Round the corners against a can, ease every edge, and cut finger grooves if you like. Flood the board with mineral oil until it stops drinking, then finish with board butter. Screw on the rubber feet.
Builds
Sign in to post your buildNo builds posted yet — be the first to show yours off.
Comments
Sign in to post a comment.