Step 1 — Mill the strips
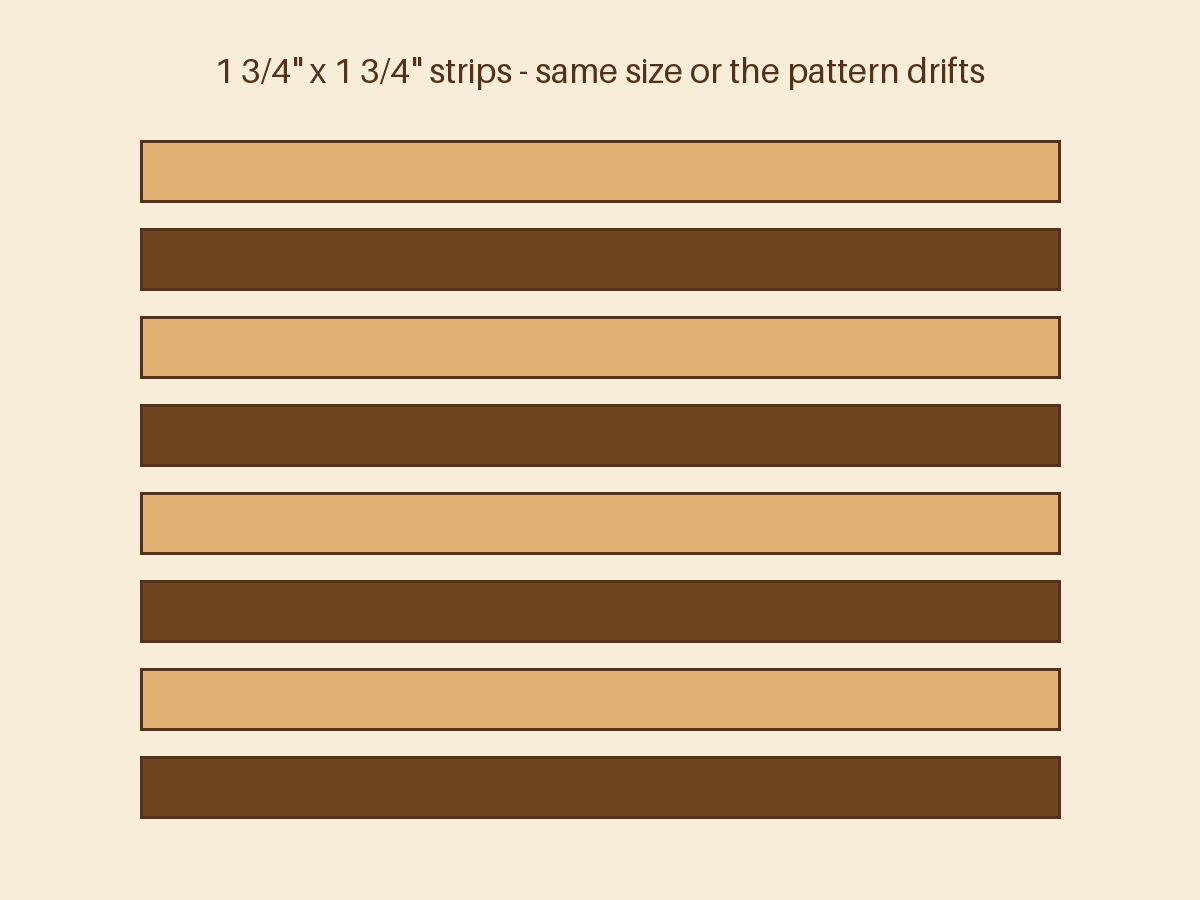
Rip your maple and walnut into clean, square 1 3/4" × 1 3/4" strips, 24" long. Alternate-species strips must be the same dimensions or the checkerboard will drift — check with calipers if you have them.
Step 2 — First glue-up: the striped slab
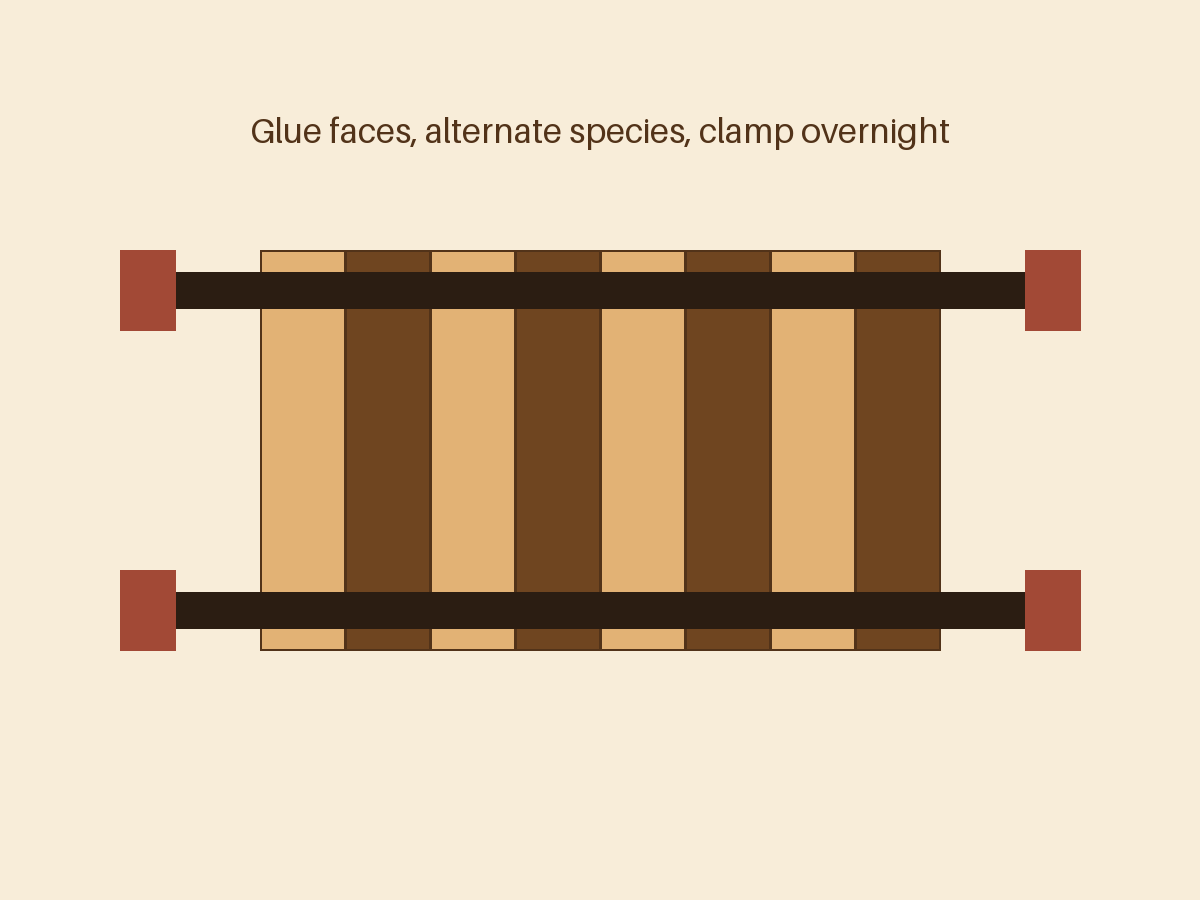
Glue the strips face-to-face, alternating maple and walnut, into one striped slab. Even clamp pressure, glue on every face. Let it cure overnight — this joint gets crosscut tomorrow and needs full strength.
Step 3 — Flatten the slab
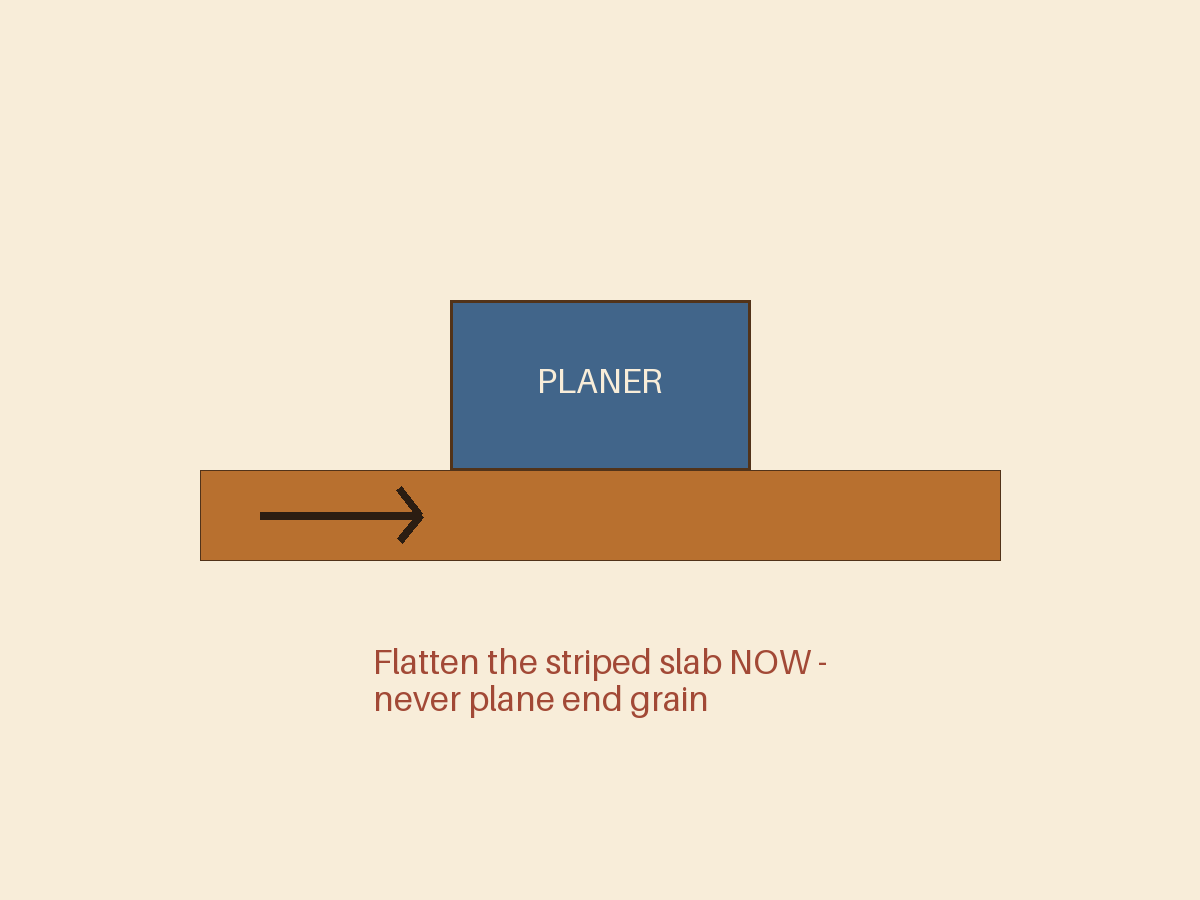
Scrape off the dried squeeze-out and run the slab through the planer (or hand-plane it) until both faces are flat and parallel. This is your last chance to use the planer — the next glue-up produces end grain, which planers tear out violently. Do not skip flattening now.
Step 4 — Crosscut and rotate
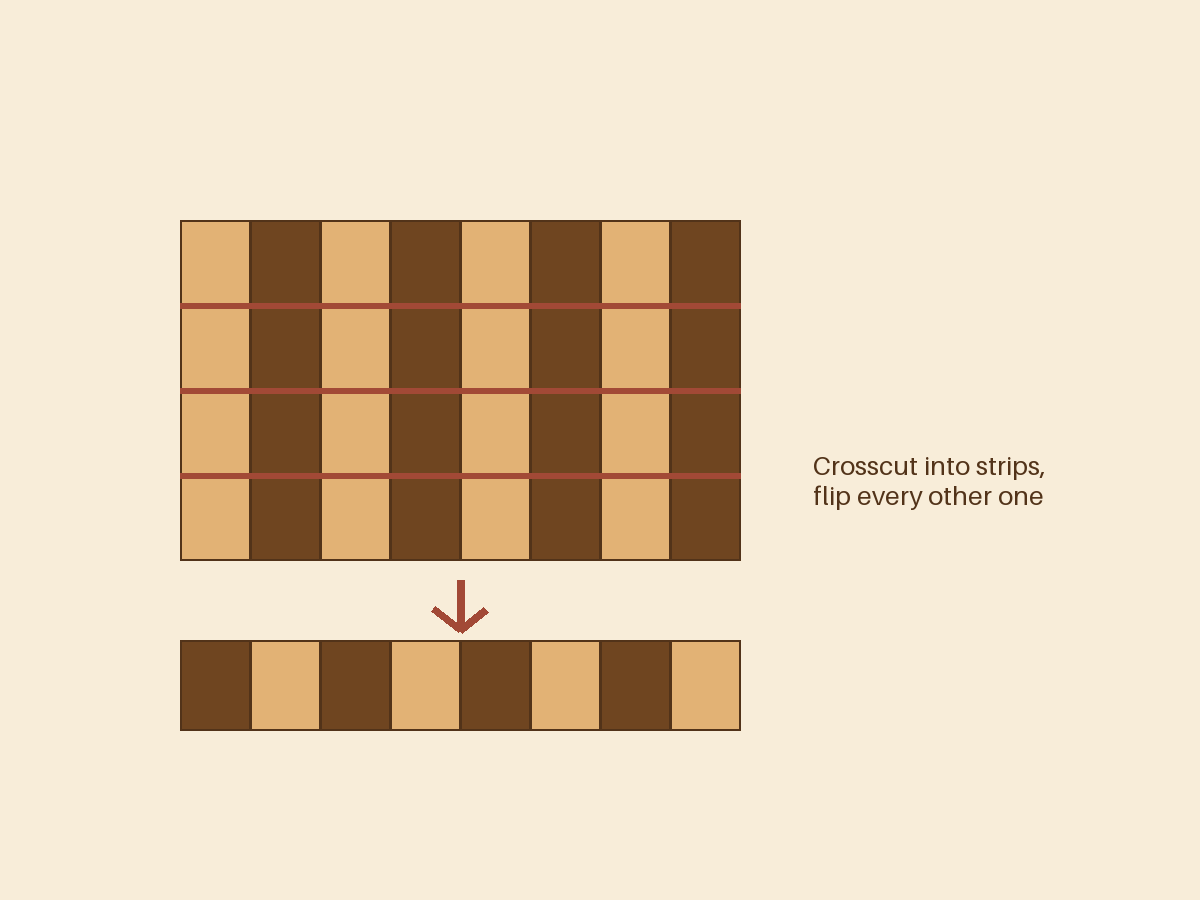
Crosscut the slab into 1 3/4"-wide pieces. Rotate each piece 90° so the end grain faces up, and flip every other one so the species alternate — the checkerboard appears. Dry-fit and admire before any glue.
Step 5 — Second glue-up
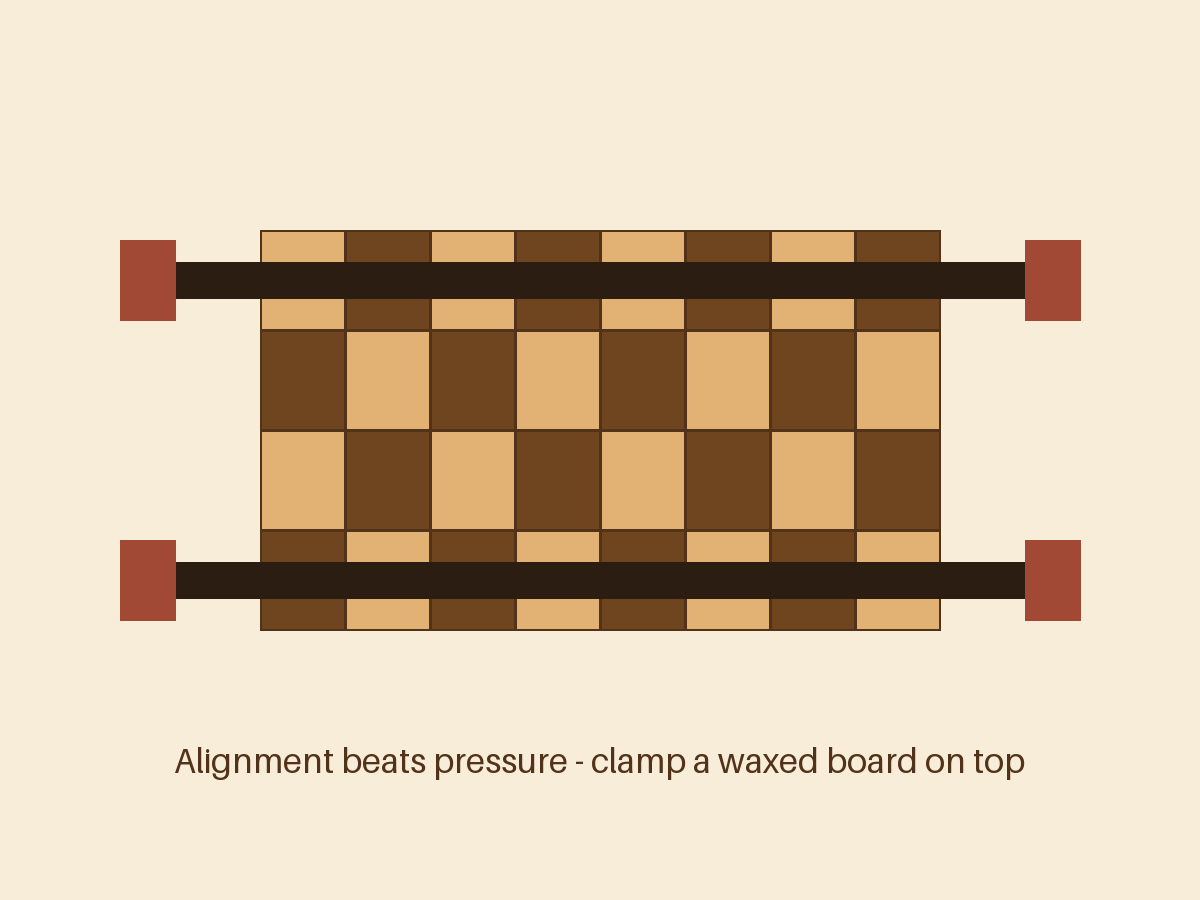
Glue the rotated pieces back together. Alignment matters more than pressure here — clamp a flat board (waxed, so it doesn't stick) across the top to keep everything level while the clamps pull sideways.
Step 6 — Sand, round, and finish
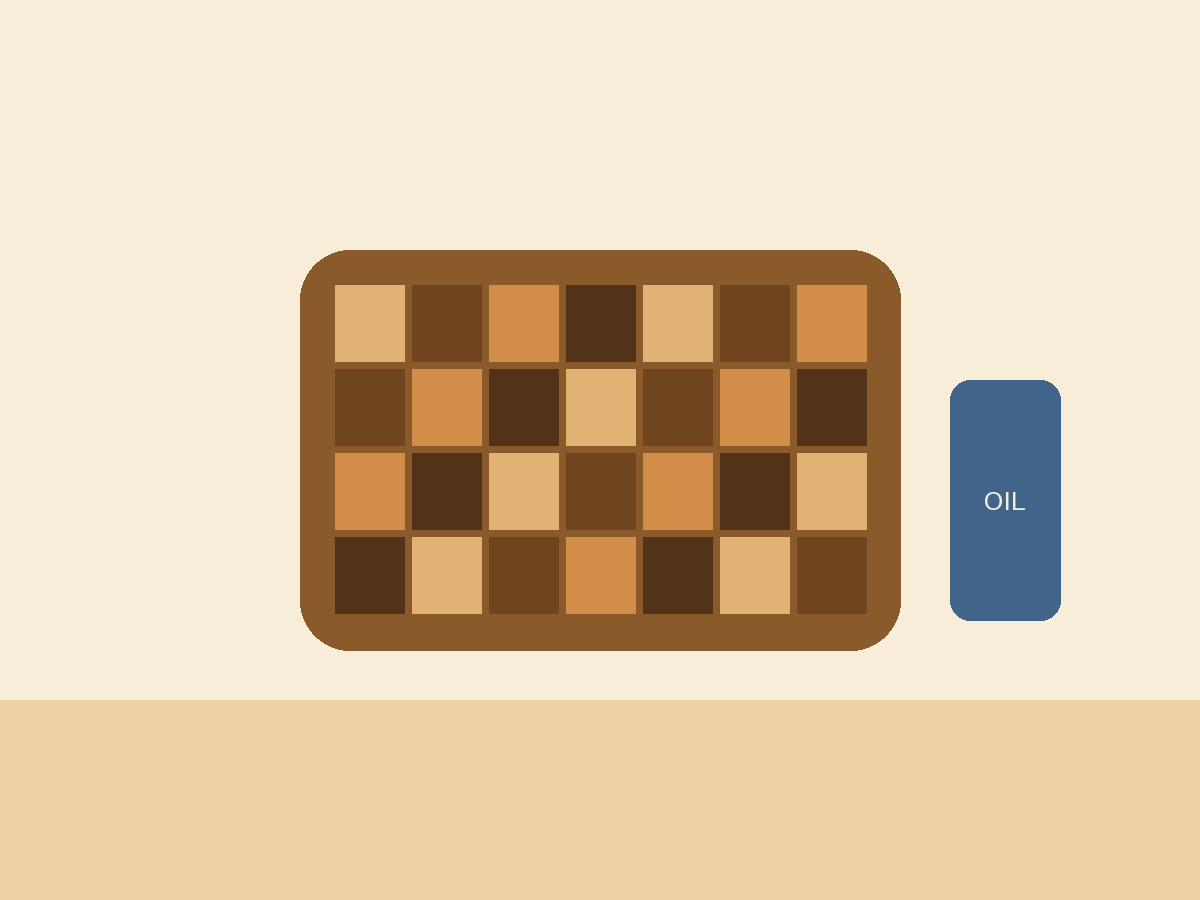
Sand from 80 to 220 grit. Round the corners against a can, ease every edge, and cut finger grooves if you like. Flood the board with mineral oil until it stops drinking, then finish with board butter. Screw on the rubber feet.