Step 1 — Make the runners
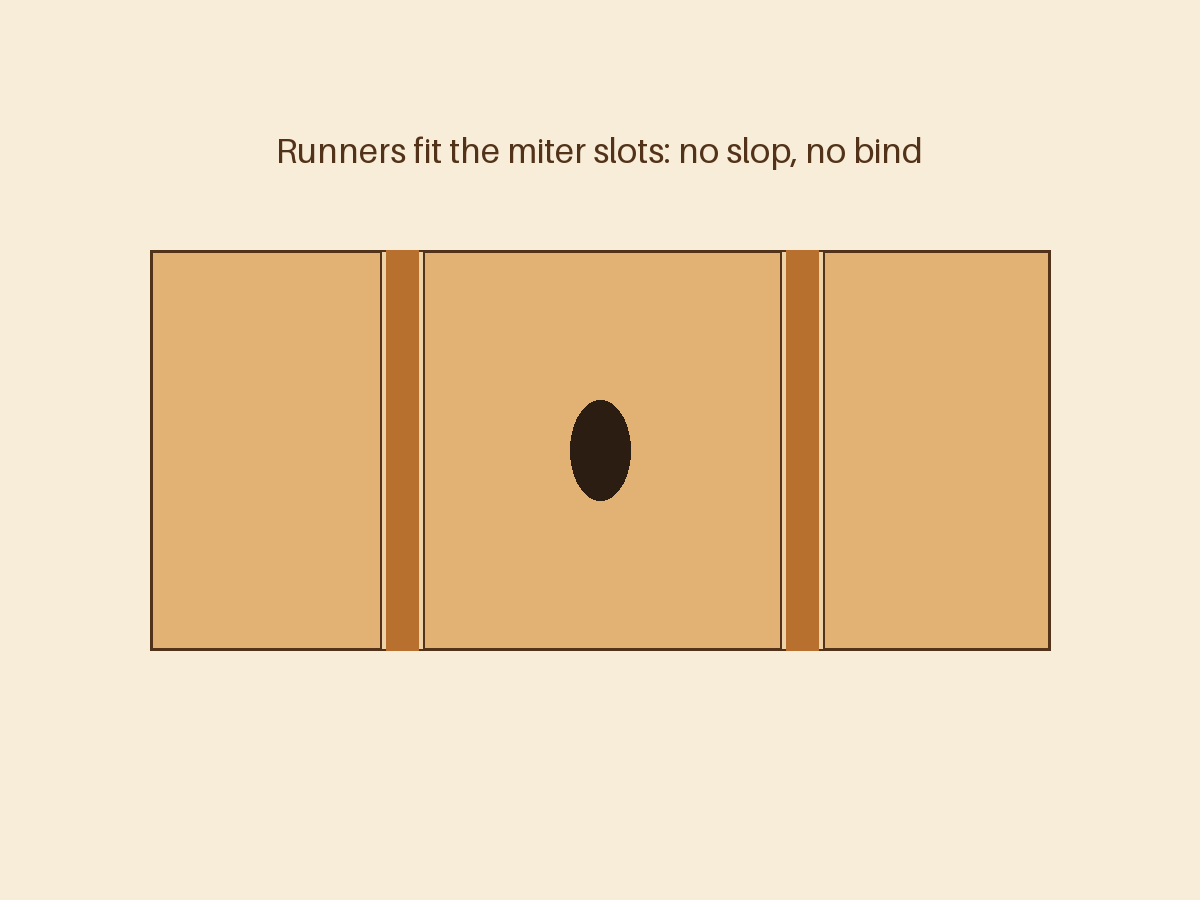
Mill two hardwood runners to slide in your miter slots with zero side-to-side slop but no binding. Sneak up on the fit with a hand plane or sandpaper. This fit is the whole jig — spend the time.
Step 2 — Attach the base to the runners
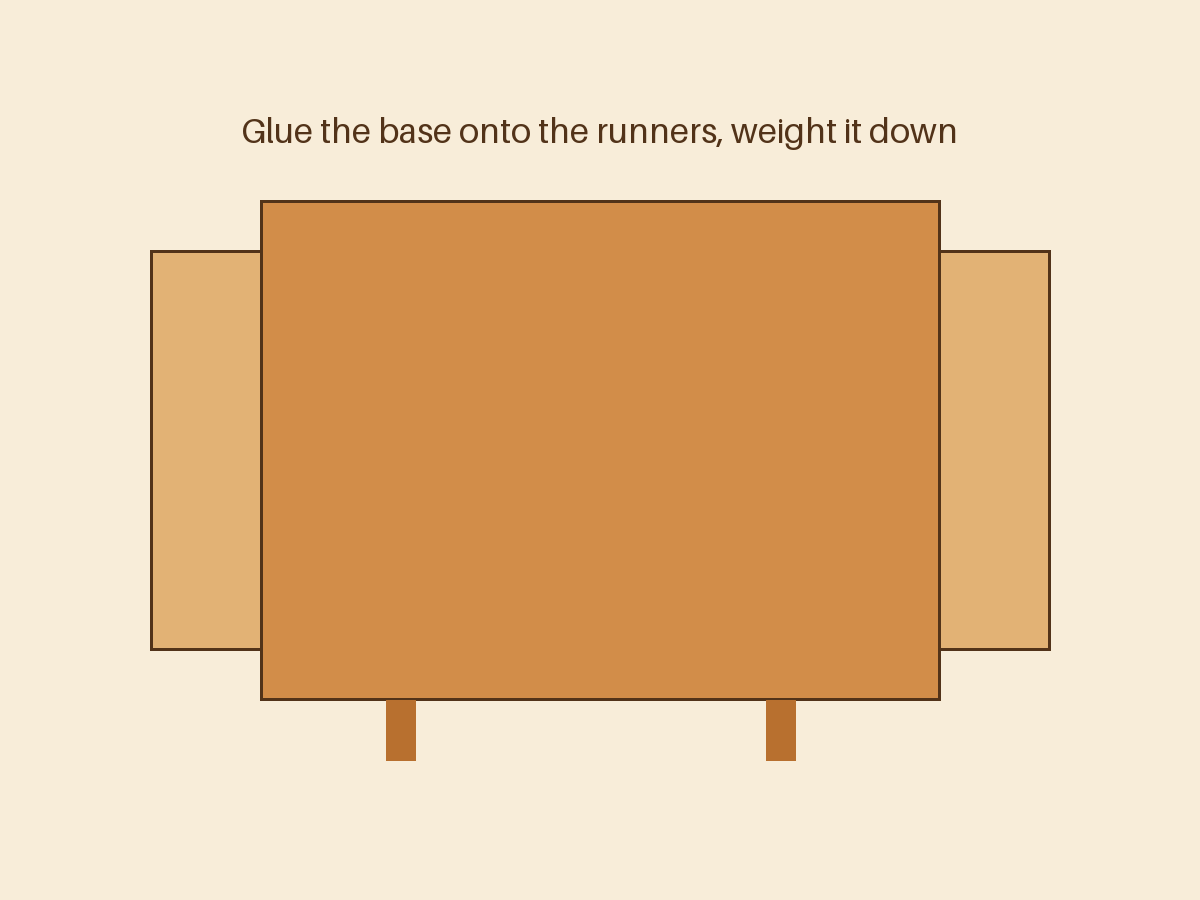
Set the runners in the slots (shim them slightly proud with washers), apply glue, and lay the plywood base on top positioned so it overhangs the blade slot area. Weight it down and let it cure, then add a few countersunk screws from underneath.
Step 3 — Add the front fence
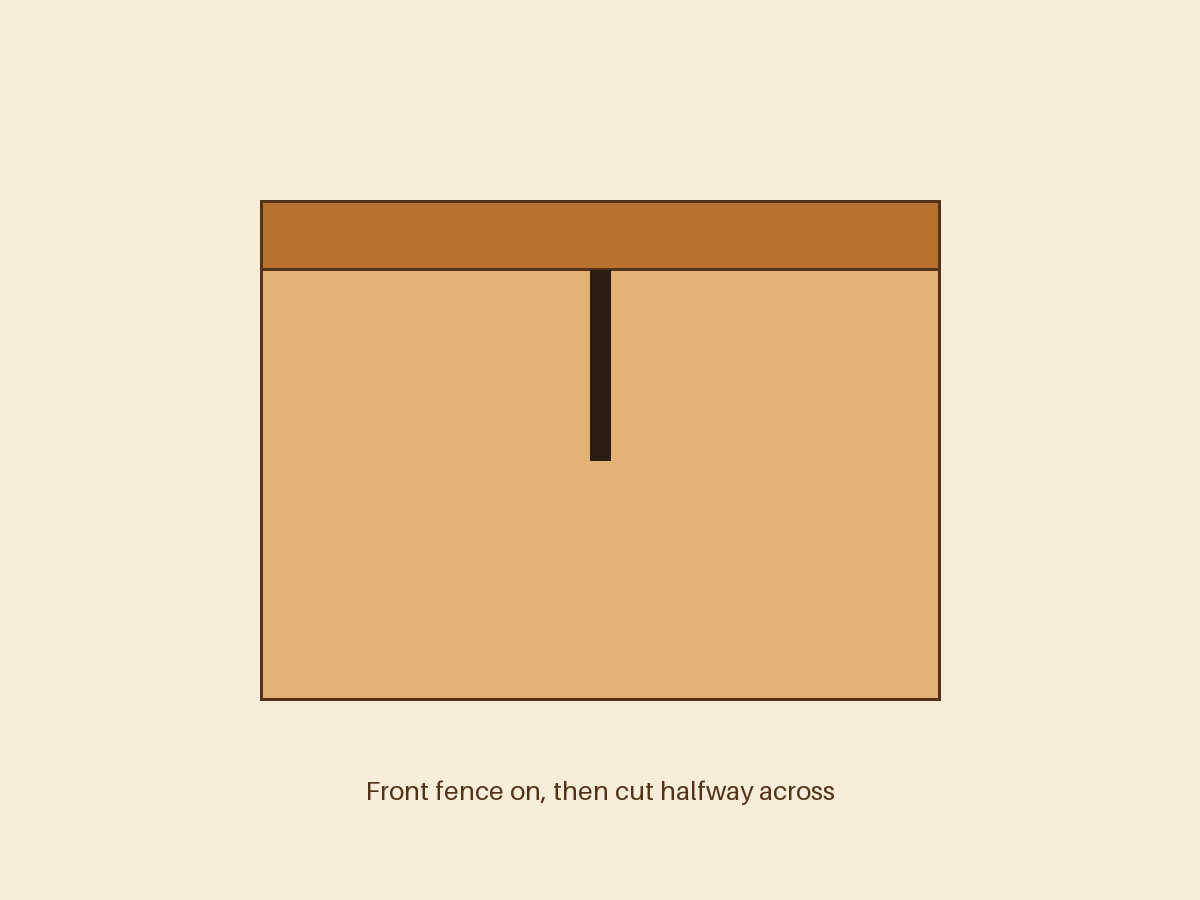
Screw the front fence (the one far from you in use) to the leading edge. It's structural, not a reference — square doesn't matter here. Raise the blade and cut halfway across the base.
Step 4 — Attach the rear fence at 90° — roughly
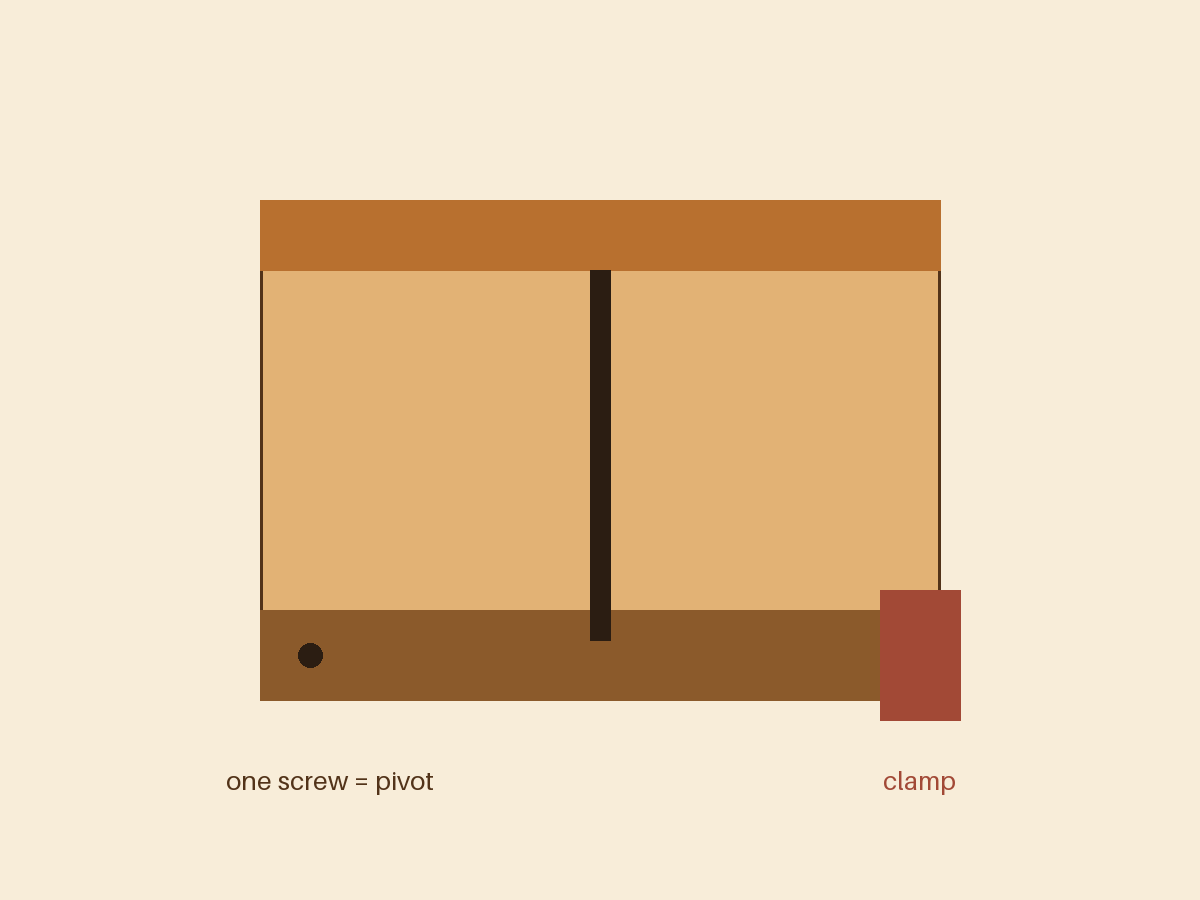
Screw one end of the rear fence (the reference fence, nearest you) with a single screw, square it to the blade cut with a framing square, and add one clamp at the far end. One screw + one clamp = adjustable.
Step 5 — The five-cut calibration
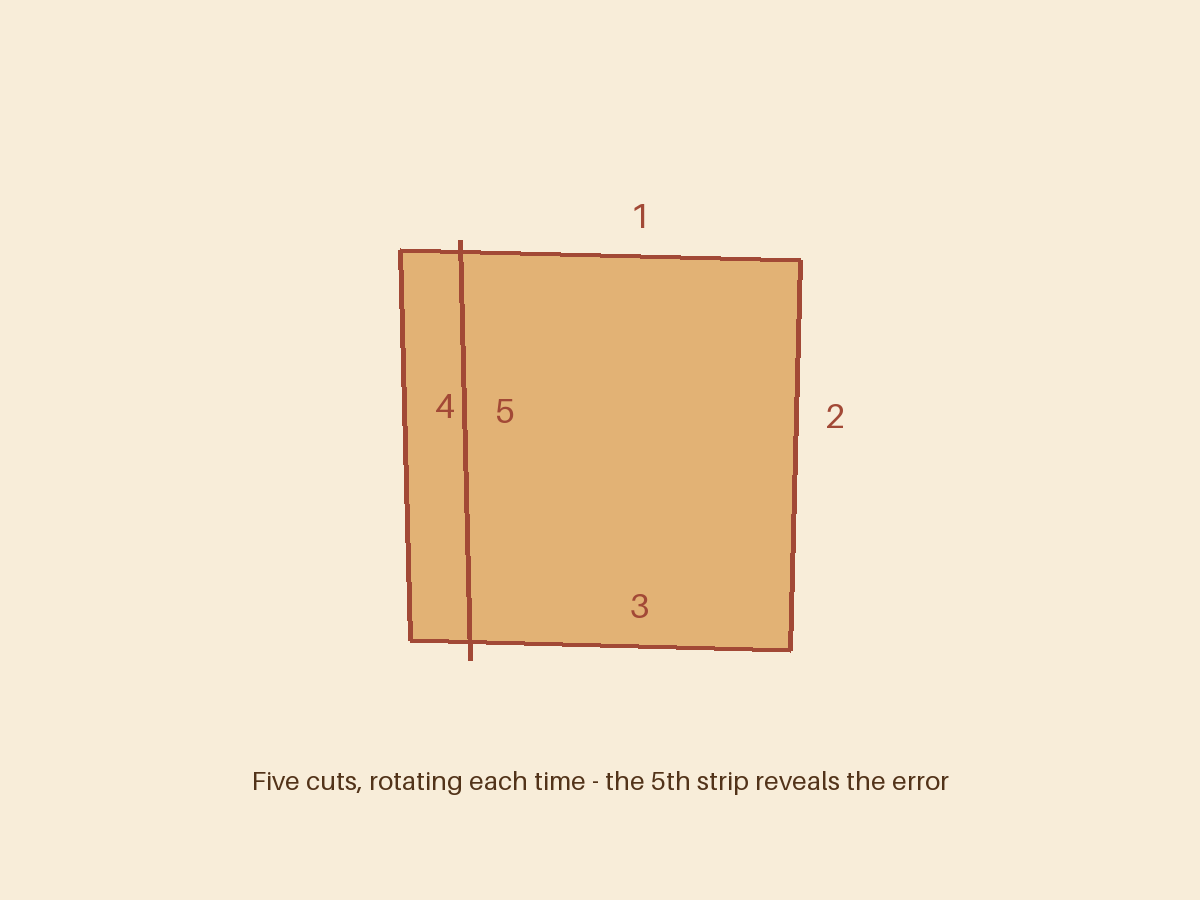
Take a scrap panel and make five cuts, rotating the same direction between each. The fifth off-cut's width difference, divided across the cuts, tells you exactly how far the fence is off. Pivot the clamped end by half the error, re-test, and when the error is under a few thou, drive the remaining screws. Search "five cut method" for a video — it's easier seen than read.
Step 6 — Finish and safety block
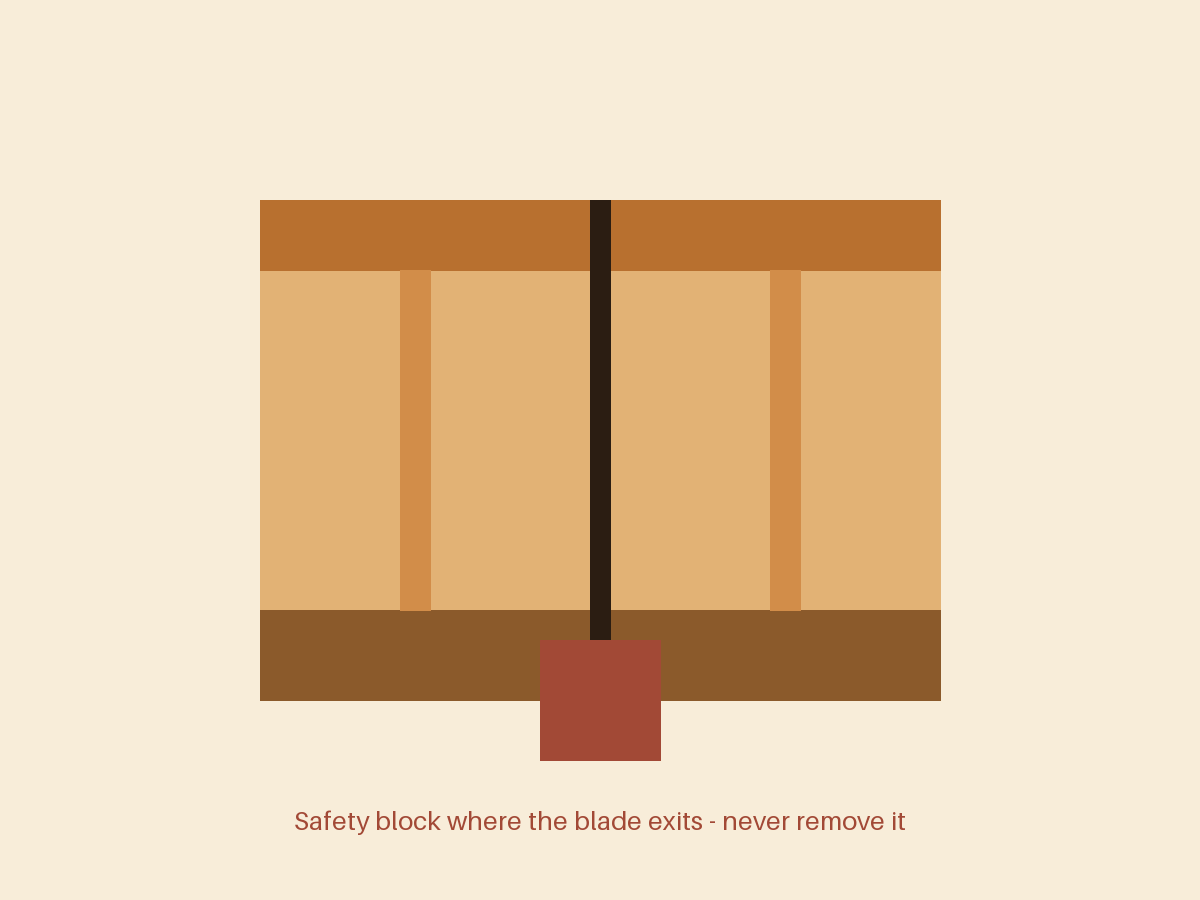
Wax the bottom until it glides. Glue a thick block of scrap where the blade exits the rear fence — the blade emerges inside the block instead of into the air where your thumb might be. Never remove it.